
Last updated October 30, 2026
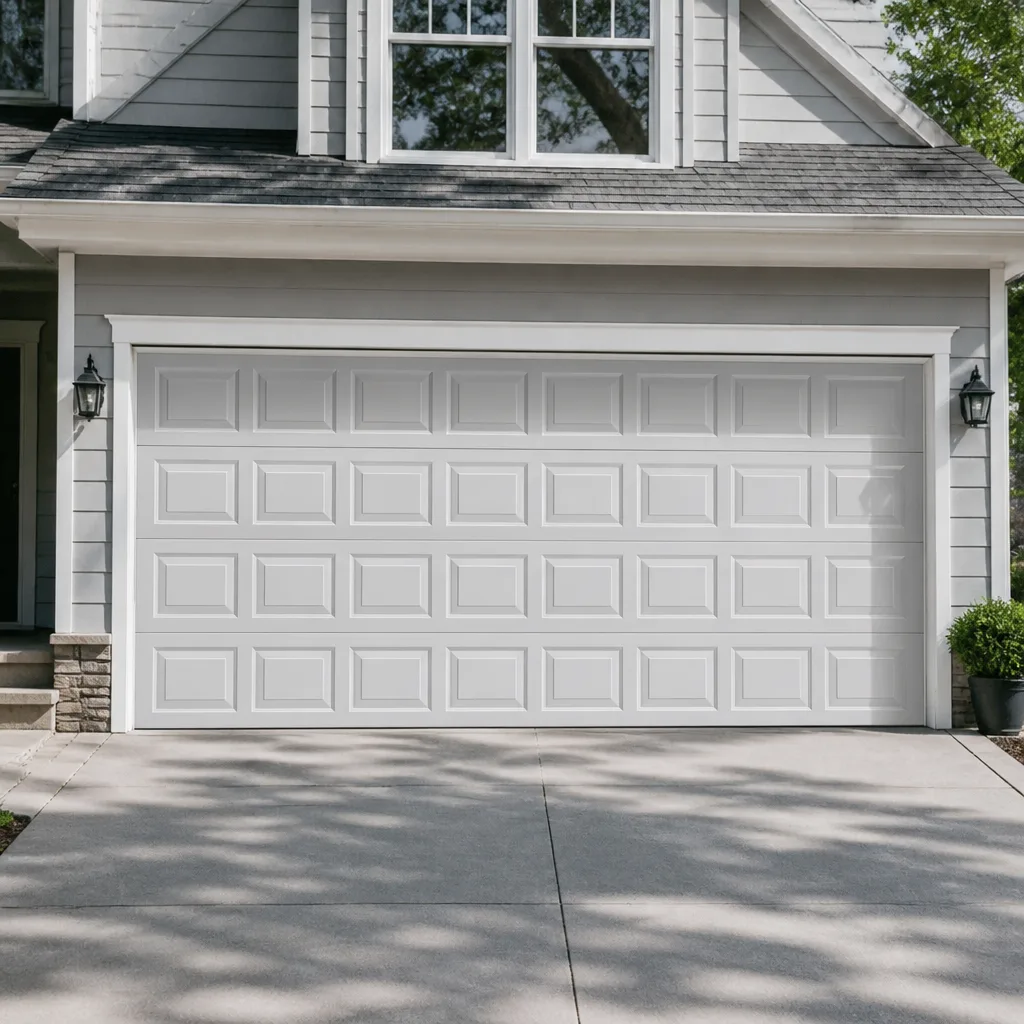 Raised-panel steel
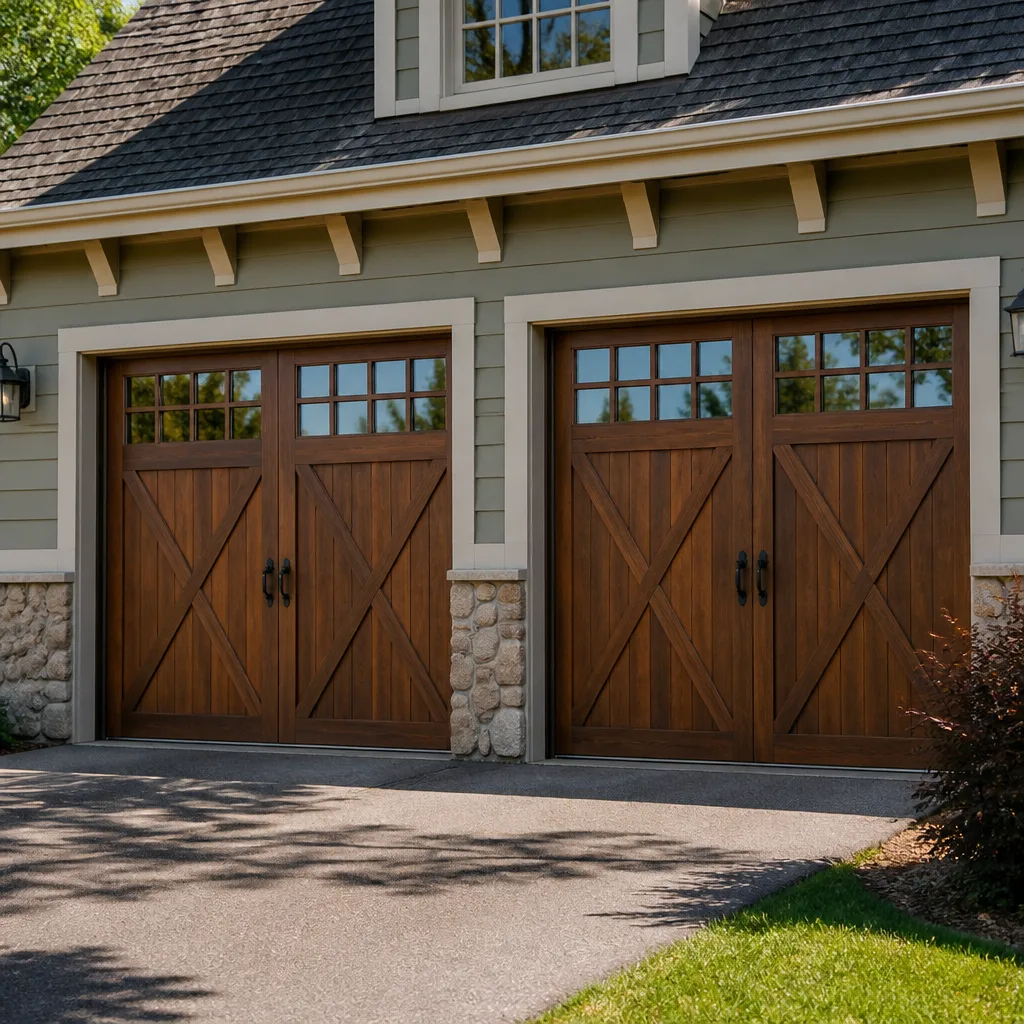 Carriage house
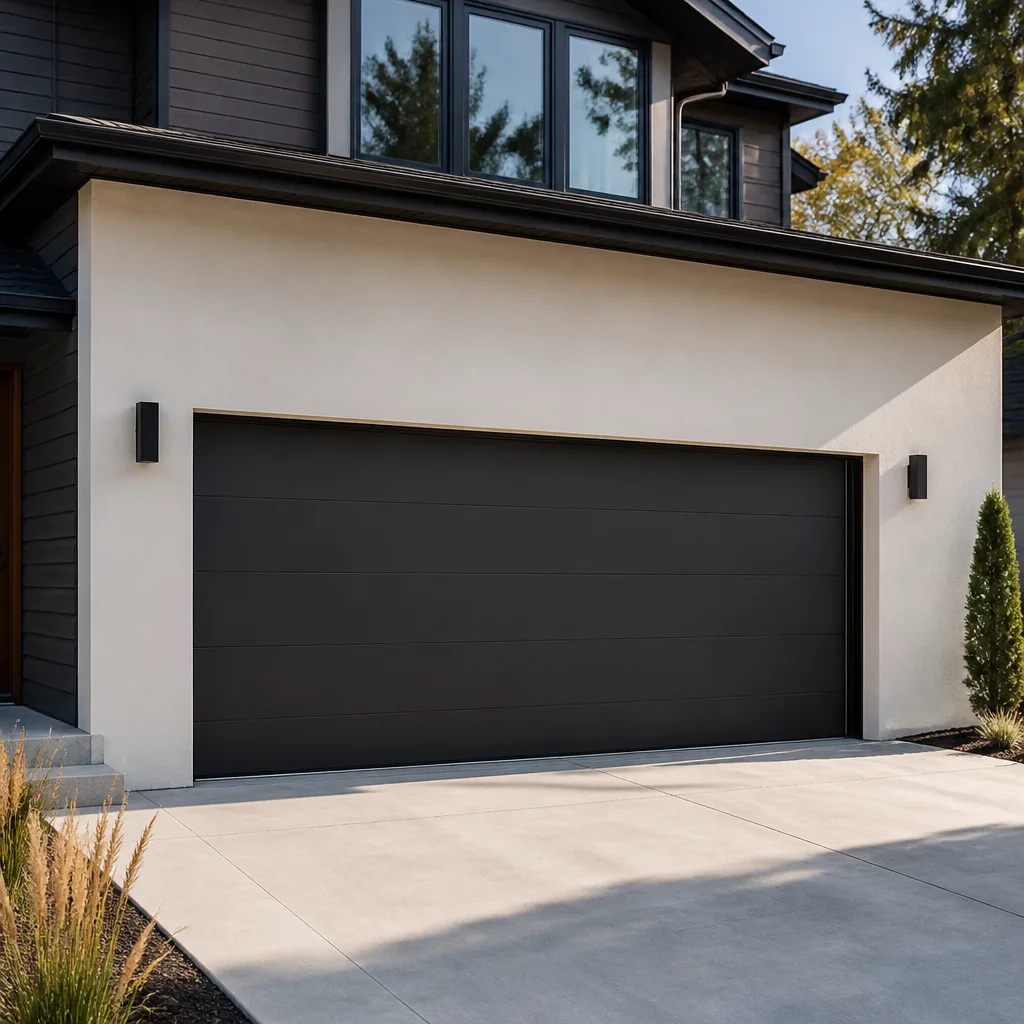 Modern flush
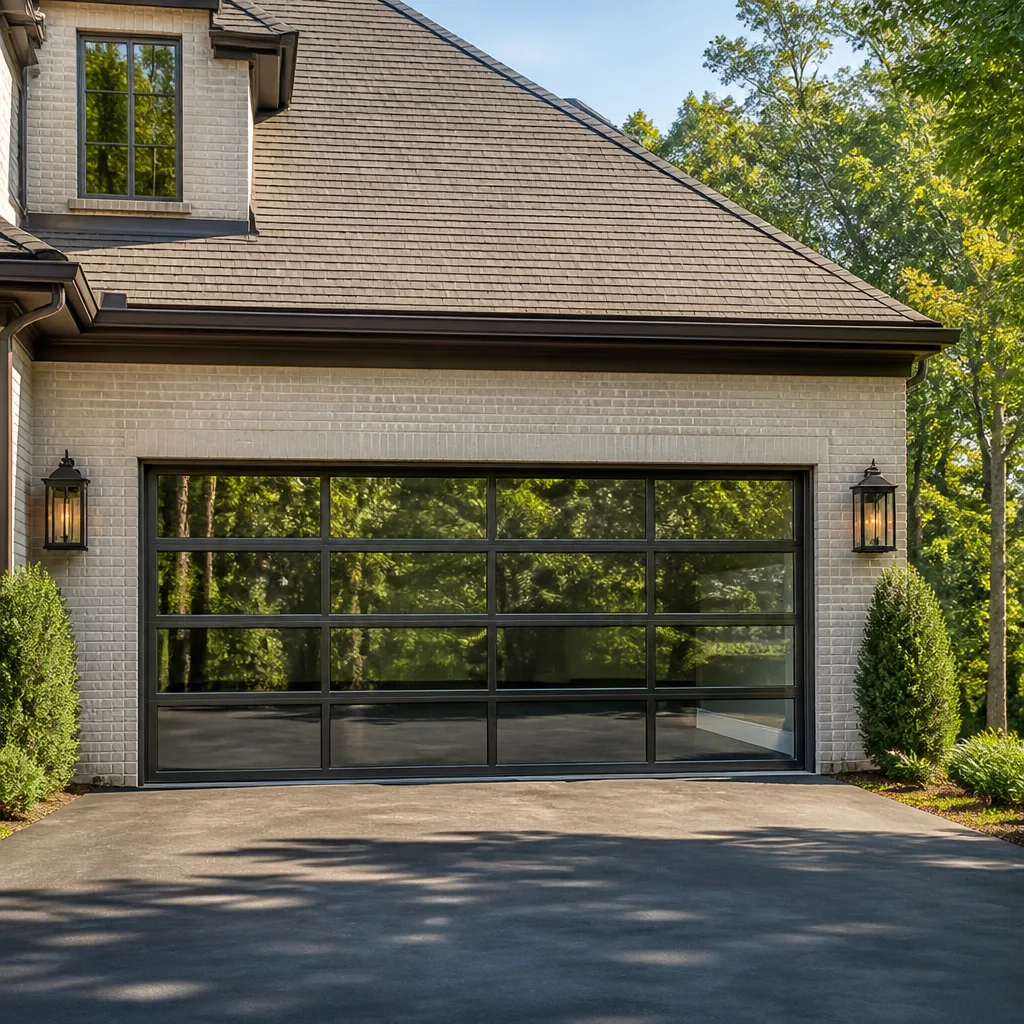 Full-view glass
 LiftMaster openers
 Chamberlain openers
Full 25-point door and opener safety check with every visit - springs, cables, rollers, tracks, and your LiftMaster or Chamberlain opener included
You get a price before we start. It does not change when the truck arrives.
Get your free estimateGarage Door Repair Troubleshooting: Common Problems and How to Fix Them
Here’s a statistic that surprises most Long Beach homeowners: roughly two-thirds of garage door service calls involve a problem the homeowner could have diagnosed correctly in under ten minutes. The issue isn’t that garage doors are complicated. It’s that most people focus on the symptom they can see, a door that won’t open, a grinding noise, a remote that stopped working, rather than the system actually causing it. A door that won’t close is almost never about the door itself. By the end of this guide, you’ll know how to identify which of the three core systems, mechanical, electrical, or structural, is failing, what the common opener error codes actually mean, and which fixes are safe to handle yourself versus which ones genuinely need a trained technician from our Garage Door Repair services.
Styles & brands we work with
Quick Answer
Garage door repair troubleshooting starts with identifying which system is failing: the mechanical components (springs, cables, rollers), the electrical opener system (motor, logic board, remote signal), or the structural track and hardware. Most “door won’t open” problems come down to one of four causes: a broken torsion spring, a stripped opener gear, misaligned photo-eye sensors, or a bent track. Homeowners can safely diagnose most issues and fix simple ones like sensor alignment and remote reprogramming, but spring and cable work should always go to a professional because of the extreme tension involved.
Table of Contents
- The Three-System Framework: How Technicians Actually Diagnose Doors
- Door Won’t Open: Spring, Gear, or Track?
- Door Won’t Close: Sensor, Limit, or Obstruction?
- Opener LED Patterns and Beep Codes: What They Actually Mean
- A Noisy Door: What Each Sound Tells You
- Remote and Keypad Problems: Signal, Battery, or Board?
- Safe to Fix Yourself vs. Call a Pro: The Honest Breakdown
- How to Describe Your Problem for an Accurate Phone Quote
- Common Mistakes to Avoid
- When to Call a Professional
- Frequently Asked Questions
- The Bottom Line
The Three-System Framework: How Technicians Actually Diagnose Doors
When we roll up to a garage door call, we’re not looking at a door. We’re looking at three separate systems that happen to share the same hardware. The mechanical system includes the springs, cables, rollers, hinges, and drums that do the physical lifting. The electrical system is the opener: motor, logic board, receiver, safety sensors, and wall button. The structural system is the track alignment, mounting brackets, door balance, and framing. Each system fails in its own characteristic way, and the first diagnostic step is figuring out which one you’re dealing with.
Here’s why this matters. A “door won’t open” complaint could be a snapped spring, that’s mechanical and usually a $250 to $450 fix in most markets, a stripped plastic gear inside the opener, that’s electrical and typically cheaper than a spring, or a track that’s been pulled off alignment by the salty Long Beach coastal air corroding the mounting bolts, that’s structural. Three different systems, three different prices, one identical symptom. If you call a repair company describing only the symptom, you get whatever diagnosis serves the company’s schedule. If you can say “the motor runs but the door doesn’t move,” that’s a stripped gear, not a spring, and you’ll get an honest conversation from the first call.
Use the disconnect test to isolate the mechanical system. Pull the red emergency release cord and try lifting the door by hand. If it’s heavy, uneven, or won’t stay up, the problem is mechanical or the door is unbalanced. If the door glides smoothly by hand but won’t move with the motor running, the problem is electrical. If the door binds or scrapes at a specific point in its travel whether it’s operated by hand or by motor, the problem is structural. This one test tells you which of the three systems to investigate, and it takes thirty seconds.
For Long Beach specifically, we see structural and electrical issues more frequently in homes within a mile or two of the coast. Salt air accelerates corrosion on track bolts, roller bearings, and opener circuit boards. If your door worked fine a month ago and now the opener hums but nothing moves, and you’re near the water, corrosion on the carriage or chain is a strong suspect. The diagnostic logic doesn’t change by brand. A Garage Door Repair in Long Beach technician applies the same three-system framework whether the door is a Clopay, Wayne Dalton, or Amarr. The door manufacturer matters for parts sourcing. The diagnostic logic doesn’t.
Door Won’t Open: Spring, Gear, or Track?
This is the most common service call we answer, and the most commonly misdiagnosed by homeowners. When a door won’t open, the problem is usually one of three things: a broken torsion spring above the door, a stripped gear inside the opener, or a track that’s out of alignment. Each has a distinct signature if you know what to look for.
The broken spring. Torsion springs sit on a metal bar above the closed door, and they do the actual heavy lifting. The opener motor on most residential doors is only rated to move a balanced door, not to dead-lift 150 to 200 pounds. When a torsion spring snaps, you’ll usually hear it: a loud bang like a firecracker from the garage. The door either won’t budge and the motor strains, or it opens a few inches and slams back down. Look at the spring itself. A broken torsion spring has a visible gap in the coil, usually one to two inches, right in the middle or near the winding cone. This is not a DIY repair. The spring is under enough tension to cause serious injury or death if it releases incorrectly. The repair is a spring replacement, and the cost in the Long Beach area typically runs from $250 to $450 depending on the spring size and whether you’re replacing one or both springs. Most technicians replace both springs on a two-spring door because they wear at the same rate, and the second one is usually close behind the first.
The stripped gear. If you hear the opener motor running, a whirring or grinding sound, but the door doesn’t move, look at the top of the opener unit. Most residential openers built since the 1990s use a sacrificial plastic gear inside the drive assembly. It’s designed to strip out before the motor burns up when the door becomes too heavy or jammed. A stripped gear is a $150 to $250 repair, notably less than a spring, and it’s a common fix on all the major brands we service. The telltale sign is plastic shavings on top of the opener or on the floor directly below it. If you see fine gray or white shavings, that’s the gear. On a LiftMaster or Craftsman opener, the gear kit is a standard replacement we carry on the truck. On a Genie, the stripped gear is often attached to the motor shaft and may require the drive coupler as well. The sooner you stop running the opener after the gear strips, the less chance there is that the motor itself gets damaged from free-spinning.
The misaligned track. A bent or shifted track produces a different signature: the door starts to move, then stops or jams at a specific point, usually with a scraping or grinding metal-on-metal sound. The opener motor may reverse itself because the built-in force sensor detects resistance. Tracks get knocked out of alignment when a car taps the bottom panel, when the mounting brackets loosen over time, or when the door gets forced open manually. A visual inspection down the length of the track will often show a visible gap or a kink, especially in the curved section near the top. Minor track realignment on a single panel door is sometimes manageable as a homeowner job with the door fully closed and the opener disengaged, but a bent track section, especially on a heavy double-width door, is structural. Replacing a track section is a job for a technician. The weight of the door resting on a misaligned track puts strain on every other component, and a track that lets go with the door in the raised position can be dangerous.
Door Won’t Close: Sensor, Limit, or Obstruction?
A door that refuses to close is almost never about the door itself. The opener motor is getting a signal that says “stop” and it’s obeying that signal. The question is which signal. In our experience, about 70% of “door won’t close” calls in Long Beach are one of three things: photo-eye sensors out of alignment, a limit setting that’s drifted, or an obstruction in the track that the force sensor is detecting. The other 30% are electrical, usually a logic board or a wiring fault, and those require a multimeter and some patience.
Photo-eye sensors
The photo-eye sensors are those two small units mounted about six inches off the floor on either side of the door opening. One sends an invisible infrared beam; the other receives it. If the beam is broken or the sensors are misaligned, the opener refuses to close the door and usually flashes the light or blinks an error code. This is a safety feature, not a malfunction. The most common cause in Long Beach garages is a bump: a bicycle, a trash can, a car bumper taps the sensor bracket and knocks it a fraction of an inch out of alignment. The fix is straightforward. Check that both sensors are facing each other, verify the small indicator lights are solid, not flickering, and wipe the lens with a dry cloth. Sunlight can also trip the receiver sensor in west-facing garages in the late afternoon, a Long Beach-specific issue we see in neighborhoods like Los Altos and Bixby Knolls where garage doors face full afternoon sun. If the door still won’t close after aligning the sensors, use a piece of cardboard to break the beam while the door is closing. The door should reverse. If it doesn’t, the safety reverse system itself may be faulty, and that’s an electrical repair.
Travel limits
Every opener has adjustable limits that tell it how far “up” is and how far “down” is. These limits can drift over time, especially on older openers, which is why a door that closed fine for years suddenly starts reversing about six inches off the ground and going back up. The opener thinks the ground is at six inches. On most LiftMaster, Chamberlain, and Craftsman openers, you can adjust the limit screws or use the wall console’s menu to reset the down limit. On Genie openers, the limit switches are located on the rail near the motor head. The adjustment is safe and simple, but make small changes, a quarter turn at a time, and test the door after each adjustment. The door should rest fully on the ground, not compress into it. If the door reverses with no visible obstruction and the sensors are aligned, the limit setting is the next most likely cause.
Force sensitivity
The third common culprit is the opener’s force sensitivity setting. If the door is balanced correctly, the opener should close it with a moderate amount of force. If the force threshold is set too low, the opener will interpret the door’s own weight as an obstruction and reverse. This often happens after a homeowner or a well-meaning handyman “tightens” the opener settings. On most modern openers, the force is set automatically during the initial programming. If you’re resetting limits, you usually need to reset the force profile as well, and the opener’s manual or a quick call to a technician who knows your specific brand can guide that process.
For homeowners in Long Beach with older Wayne Dalton or Raynor systems, the limit and force adjustments are often mechanical, not digital, and the components wear out rather than drift. If you’ve adjusted the limits and force and the door still reverses, the logic board may need to be replaced, and at that point, on a 15-plus-year-old opener, we’d typically recommend looking at a new opener rather than sinking $200 into a unit that’s near the end of its life. The team at Blackstone handles the full lifecycle, so whether it’s a repair or a full replacement, Garage Door Opener Repair in Long Beach covers the electrical side without any referral to a third party.
Opener LED Patterns and Beep Codes: What They Actually Mean
Every major opener brand uses a diagnostic language, and most of it is blinking lights. A blinking light is not random. It’s a code. Once you know the language, you know the problem before you pick up the phone. Here’s what the most common patterns mean on five of the brands we work on most frequently.
LiftMaster and Chamberlain (same parent company, same code language)
- One blink, then repeat: The safety reversing sensors are misaligned or blocked. Realign the sensors and check for debris.
- Two blinks: The door won’t close due to a wiring issue on the safety sensors, usually a shorted or pinched wire. Check the sensor wiring where it runs along the track and near the wall.
- Four blinks: The safety sensors are miswired or the wires are crossed. This one is almost always a wiring fault at the sensor terminals on the opener motor.
- Five blinks: The motor has overheated. Let it cool for 20 minutes and try again. If it recurs, the motor is drawing too much current, usually because the door is unbalanced.
Genie
- Red light on the opener blinking continuously: The Safe-T-Beam system (Genie’s name for the photo sensors) is misaligned, dirty, or blocked. This is the most common Genie issue.
- Two red blinks, then pause: The opener’s force setting has tripped because the door hit an obstruction or the door is too heavy. Check for obstruction first, then test the door balance.
- Three red blinks: The door control wiring is shorted or the wall console is faulty.
- Four red blinks: The RPM sensor, an internal component that tells the opener how fast the motor is spinning, has failed. This is an internal repair, not a homeowner fix.
Craftsman
Older Craftsman openers share code patterns with LiftMaster and Chamberlain, since the same manufacturer built most of them. Newer Craftsman models use a similar one-blink sensor fault, two-blink wiring fault, four-blink overheat pattern. The key difference: Craftsman openers from the 1990s and early 2000s often have a mechanical limit assembly rather than digital, so a door that reverses near the floor on an old Craftsman is more likely to be a worn limit gear than a digital limit drift.
Linear (common on many builder-installed and custom doors)
- Rapid flashing on the wall station: The door is hitting an obstruction or the force setting is too low. Linear openers are more sensitive to door balance than most.
- Slow blink, then pause: The photo-eye system is blocked or misaligned.
- Beeping every 30 seconds with no motor movement: The opener has lost its programming, often after a power surge. It needs to be reprogrammed.
Raynor
Raynor openers, which share components with Linear in many cases, use a similar code language. The most common Raynor-specific issue we see is a wall console that blinks continuously after a power outage, requiring a reset of the console’s internal programming. The reset process is brand- and model-specific, and the manual is your best guide. A wrong reset sequence can erase the remote and wall console programming entirely.
One note from years of Long Beach service calls: if your opener is more than ten years old and showing an internal error code, a four-blink or five-blink pattern, the repair often costs within $50 to $100 of a new opener. On a Chamberlain or LiftMaster, the internal parts are modular and the repair is usually clean. On an older Linear or Raynor, the logic board may be discontinued, and a new opener is the better long-term play. We’re glad to give you the straight answer either way, since opener repair is a dedicated specialty for us, not an afterthought.
A Noisy Door: What Each Sound Tells You
A garage door that makes noise is trying to tell you something. The specific noise, grinding, squealing, rattling, or popping, maps to a specific component. Here’s what each sound indicates, and what to do about it.
Grinding or metal-on-metal scraping. This is usually the rollers. Rollers on most residential doors are steel rollers with ball bearings inside. When the bearings wear out, the roller no longer rolls, it slides along the track, and the metal-to-metal contact grinds. The fix is roller replacement, and you can spot the problem by looking at the rollers on the sides of the door panels. A worn roller has a flat spot or doesn’t spin when the door moves. Roller replacement is generally safe as long as you do not touch the bottom roller bracket, which is attached to the cable and under spring tension. The rollers on the sides are accessible and replaceable one at a time with the door in the raised position and the opener disengaged. If the grinding is coming from the opener itself, not the track, it’s the motor or the drive gear, and it’s an electrical repair.
Squealing or shrieking. A high-pitched squeal usually means the hinges or the torsion spring bearings need lubrication. Use a garage door-specific lubricant, not WD-40, on the hinge pivot points, the torsion spring itself, and the roller bearings. WD-40 displaces moisture but doesn’t provide lasting lubrication, and it can attract dust. A squealing sound from the opener motor is the internal motor bearing, and it means the opener is approaching the end of its life.
Rattling or banging during operation. A rattle means loose hardware. Nuts and bolts on the track brackets, the door hinges, and the opener rail work themselves loose over time from the vibration of daily use. The fix is simple: go around with a socket wrench and tighten everything you can reach. Do not tighten the spring hardware. The spring components are under tension and should only be touched by a technician.
A single loud pop followed by the door not working. That’s the torsion spring breaking. We covered this above, but it bears repeating: a broken spring is the loudest, most forceful failure on a garage door system, and it’s genuinely dangerous if the door is in the raised position when it happens. If you hear that pop, disengage the opener and leave the door where it is, then call for service.
For Long Beach garages near the water, we hear more noise complaints than inland, and the reason is almost always corrosion. Salt air rusts the roller bearings and the hinge pins, and the noise is the sound of metal grinding through rust. A rusted roller bearing can seize, and a seized roller can deform a track. If your door has gotten progressively louder over the course of a year and you live within a few blocks of the beach, get the rollers checked before the track gets damaged, which is a more expensive fix.
Remote and Keypad Problems: Signal, Battery, or Board?
When the remote stops working, the first instinct is to replace the battery. That’s the right first step about 40% of the time. The other 60% is a signal problem, a receiver problem, or a keypad wiring fault. Here’s the order to work through.
- Replace the remote battery. Yes, this is obvious, but it’s also the cheapest and most common fix. Use a fresh battery, not one from a drawer.
- Test the wall button. If the wall button opens and closes the door normally, the problem is the remote signal path, not the opener. If the wall button also doesn’t work, the problem is in the opener’s receiver or logic board.
- Check the lock button. Many openers have a lock feature on the wall console that disables all remotes. It’s engaged accidentally more often than you’d think. Look for a lock icon or a blinking lock light on the wall console.
- Reprogram the remote. Remotes lose their programming after power surges, which are common in Long Beach during the summer brownouts and occasional coastal storms. Reprogramming is a two-minute job on most openers, using the learn button on the motor unit.
- Replace the keypad battery and check the keypad wiring. A wired keypad that fails usually points to a pinched wire or a corroded connection at the wall. A wireless keypad that fails to respond even after a battery change and reprogramming may have water damage. Keypads mounted outside the garage face rain and coastal moisture, and the circuit boards do not like salt air.
If none of these steps restores operation, the receiver in the opener is the likely fault. On openers older than ten years, this is another case where the repair cost makes a new opener worth considering. On newer LiftMaster and Chamberlain units with built-in Wi-Fi, the receiver is integrated into the main logic board, and the repair is board-level. We work on all the major brands, from the newest smart LiftMaster units to a Raynor opener that’s been opening the same Long Beach garage door for twenty years, so we can tell you whether a repair makes sense on your specific unit or whether the smarter money goes toward a new installation.
Safe to Fix Yourself vs. Call a Pro: The Honest Breakdown
We’ll be straight with you: some garage door repairs are genuinely safe for a careful homeowner, and some are not. The line is not about skill level. It’s about stored energy. Torsion springs and extension springs store enormous amounts of mechanical energy, enough to kill or seriously injure a person if released improperly. Cables under spring tension are the same story. Anything connected to the springs or cables is a professional job, full stop, no exceptions.
Safe for most homeowners:
- Realigning photo-eye sensors
- Cleaning the sensor lenses
- Lubricating hinges, rollers, and the torsion spring itself with the proper spray lubricant
- Tightening loose track bolts and hinge bolts (not the spring hardware)
- Adjusting travel limits on the opener
- Replacing remote and keypad batteries
- Reprogramming remotes and keypads
- Replacing side rollers one at a time with the door raised and the opener disengaged, leaving the bottom bracket alone
Not safe. Call a technician:
- Anything involving the torsion spring or extension spring, including adjustment, replacement, or “just tightening it up a little”
- Replacing or adjusting cables, especially the cables running through the spring system
- Removing or replacing the bottom bracket, which is under cable tension
- Replacing a track section or reshaping a bent track on a double-width door
- Any repair that requires disassembling the opener motor unit, which contains a high-voltage capacitor even when unplugged
We know there are videos online showing homeowners winding torsion springs with improvised tools. Those videos do not show the people who ended up in the emergency room. In our experience, the cost of a professional spring replacement, which is less than most emergency room co-pays, is the cheapest possible way to handle that particular repair. A real expert always flags the danger, and this is the one we flag most urgently.
How to Describe Your Problem for an Accurate Phone Quote
The single most effective way to avoid a bait-and-switch repair quote is to describe your problem accurately on the phone. An honest company will ask you diagnostic questions. A company that quotes you a price without asking anything about your symptoms is guessing, and the guess will be corrected upward when the technician arrives. Here’s what to note before you call.
- What happens when you press the button? Be specific: “The motor runs but the door doesn’t move” is a gear problem. “The door moves a few inches and stops” is a limit or obstruction problem. “Nothing happens at all” is an electrical or receiver problem. These three descriptions lead to three different diagnoses and three different prices.
- What sound does it make? Grinding, squealing, banging, or silence. Each sound maps to a specific component.
- Was there a loud noise when the problem started? A bang or pop means a spring. If the loud noise was an explosion-like sound and the door is now stuck halfway, that’s urgent.
- What brand is the door and the opener? The door brand is usually on a sticker on the inside of a door panel or on the end stile. The opener brand is printed on the motor unit. A company that knows your brand up front can tell you whether the repair parts are likely to be on the truck or need to be ordered.
- Did this problem appear gradually or suddenly? A gradually worsening noise is wear. A sudden failure is a break. The repair approach and urgency differ.
- Have you tried anything already? If you’ve adjusted limits or reprogrammed the remote, say so. It saves the technician from re-diagnosing from scratch, and it tells an honest company that you’re informed and won’t accept a vague diagnosis.
When you call a company armed with this information, the phone conversation changes. You’re no longer a customer who can be quoted the expensive fix first. You’re a homeowner who knows whether the problem is mechanical, electrical, or structural, and you’ll recognize an honest quote when you hear one. That’s what this guide is really about: the knowledge to describe your problem accurately so the quote you get matches the repair you actually need. If the company on the other end of the line seems annoyed by your questions, find another company.
Common Mistakes to Avoid
- Keeping the opener on after the door stops working. If the door jams and you keep pressing the button, you’re grinding the motor, stressing the gear, and potentially turning a $200 repair into a $500 one. Disconnect the opener with the emergency release the moment your door starts misbehaving.
- Spraying WD-40 on everything. WD-40 is a solvent, not a garage door lubricant. It cleans off the existing lubricant and attracts more dirt. Use a silicone-based or lithium-based garage door lubricant specifically designed for this purpose.
- Adjusting the torsion spring “just a little.” The tension on a torsion spring can exceed 200 to 300 pounds in the wound position. There is no safe “just a little” adjustment for a homeowner with hand tools. This is exactly how serious injuries happen.
- Ignoring the problem until the door fails. A door that’s getting progressively louder or slower is telling you a component is wearing out. In most cases, catching it early means replacing a $20 roller instead of a $200 track section. Long Beach coastal air makes this worse; salt corrosion compounds wear.
- Forcing the door open by hand when it’s in a bind. If a door is stuck, pulling harder on the emergency release or yanking on the bottom panel can pull a cable off its drum or bend the track. If it doesn’t move with moderate effort, stop and get help.
- Assuming the problem is the door when it’s actually the opener. We see this constantly. A homeowner calls about a “garage door that won’t close” and the real issue is a faulty sensor on the opener. Running through the diagnostic framework above before the call saves you time and money.
- Changing the remote battery without checking the wall button. If the wall button works but the remote doesn’t, the opener is fine. If you skip this step, you may replace the remote when the problem is the receiver, and the new remote won’t work either.
When to Call a Professional
Call a professional if you have a broken spring, a snapped or frayed cable, a door off its track, a motor that hums but won’t engage, or a door that suddenly reverses or drops hard while closing. These are not inconveniences; they’re safety hazards. A falling garage door can weigh several hundred pounds, and a spring under tension can cause catastrophic injury. If you’ve worked through the safe homeowner fixes in this guide and the problem persists, or if you’re at all unsure whether a component is under spring tension, stop and call a technician. The cost of a service call is the cheapest version of that repair. Blackstone Garage Door Repair offers free estimates in Long Beach; call (866) 477-5637 for an honest phone assessment, and we’ll tell you whether the problem is something you can handle yourself or something that needs one of our technicians. Ours is the brand-agnostic approach: we work on every major manufacturer’s systems, so the advice we give is based on what’s actually wrong, not on what we happen to have in inventory.
Frequently Asked Questions
Most common garage door repairs in Long Beach fall between $150 and $450. A stripped gear or limit switch repair typically runs $150 to $250, a broken torsion spring replacement (usually both springs) runs $250 to $450, and a full track replacement on a double door can run higher. The price depends on the component, the door size, and the brand. Call (866) 477-5637 for a free phone estimate; describe the specific problem using the framework in this guide and we’ll give you a realistic range before anyone comes out.
Same-day service depends on the technician’s route and the parts needed. Common repairs like gears, sensors, and rollers can often be completed same-day, since most trucks carry the common parts for LiftMaster, Chamberlain, Genie, and Craftsman systems. If your specific brand needs an ordered part, we’ll tell you on the phone so you’re not waiting at home for a truck that can’t complete the repair that day.
No. The price we quote on the phone is the price we honor, and any work is quoted and agreed before work begins. We do not do on-site price revisions. If the technician finds a separate additional problem, you’ll be told before any additional work happens, and you authorize it, not the other way around. That’s how Blackstone operates, and it’s one of the reasons our customers in Long Beach tend to stick with us for the life of their door system.
Our trucks carry common parts for LiftMaster, Chamberlain, Genie, Craftsman, Wayne Dalton, and Raynor systems, including gears, sensors, remotes, rollers, and standard spring sizes. For less common parts, we check inventory before dispatching and let you know if a part needs to be ordered, so the technician arrives ready to complete the job.
Only if the door is balanced and the problem is electrical. If the spring is broken, the door will be extremely heavy and unsafe to operate manually. If the door is off-track, lifting it manually can cause further damage. Use the disconnect test only to diagnose the problem, not as a way to keep using a damaged door.
Based on the calls we answer, the most common issue in Long Beach is a broken torsion spring, which is unsurprising given that the average door in the area cycles several times per day and the springs are rated for roughly 10,000 cycles. Close behind is photo-eye misalignment, usually from a bumped sensor bracket in a busy garage, and worn rollers, especially in coastal neighborhoods where salt air shortens bearing life. All three are quick, predictable repairs.
If your opener is over 15 years old and the problem is internal, motor bearings, a worn gear, a failing logic board, replacement is usually the better long-term value. A new opener with a current smart-home feature set costs less than two major internal repairs on an old unit. It also eliminates the odds of a second failure next month. If the opener is under ten years old and the failure is a single identifiable component, like a gear kit, repair typically makes sense. We’ll give you the straight answer on your specific unit, since we handle both repair and Garage Door Installation in Long Beach.
The Bottom Line
Garage door troubleshooting is a thinking process, not a guessing game. The door you can see is just the result; the system behind it is what’s actually failing. Mechanical problems live in the springs and rollers, electrical problems live in the opener, and structural problems live in the track and hardware. Learning to distinguish those three systems, and learning the diagnostic signatures they produce, changes your experience as a homeowner. You’ll know what a broken spring sounds like, what a stripped gear leaves behind, what a misaligned sensor looks like, and what the blinking lights on your opener are actually saying. Most importantly, you’ll be able to describe your problem accurately enough to get an honest quote over the phone, from a company that knows your brand and respects your time. You can always make one call to Blackstone for the whole door system: Blackstone Garage Door Repair home covers repair, opener service, and full installation, all in-house.
Written by the team at Blackstone Garage Door Repair, serving Long Beach since 2012. For more guides & resources, visit our blog.
See the difference
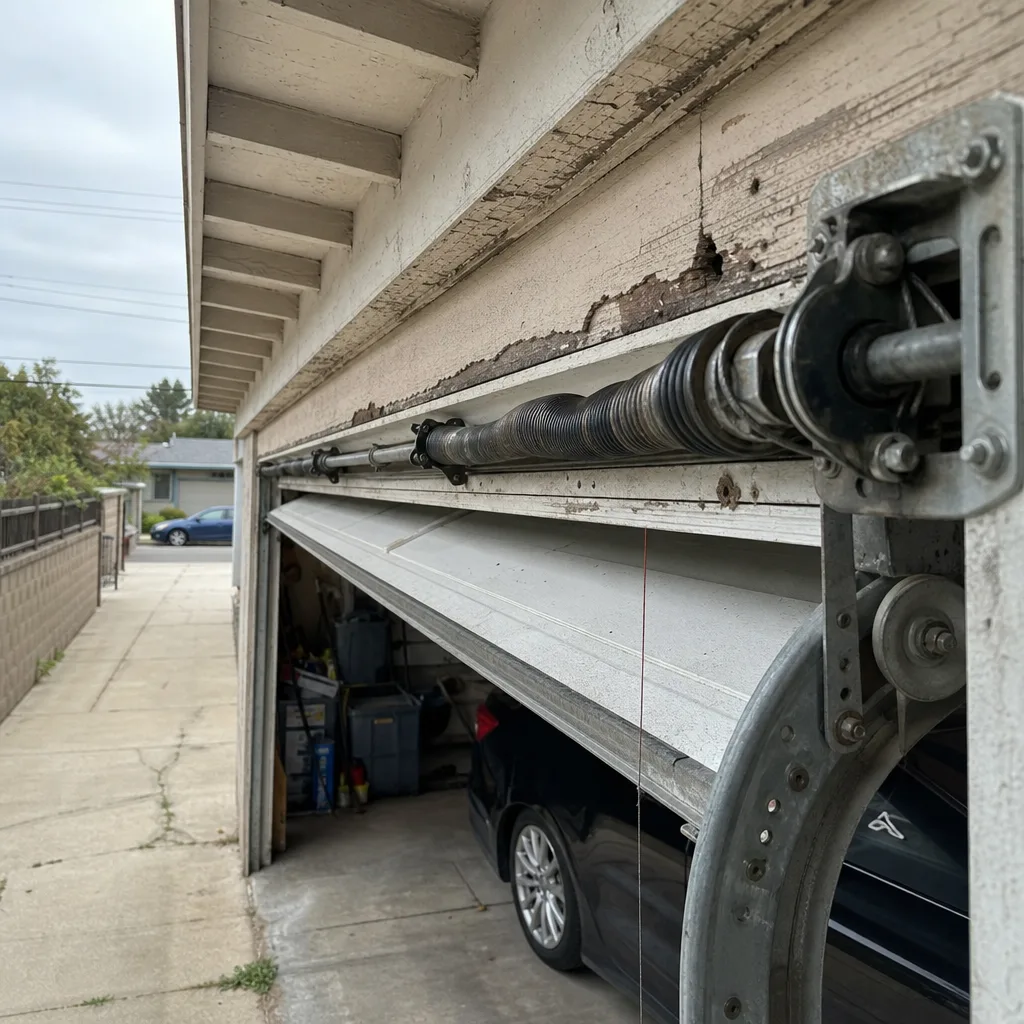 Before
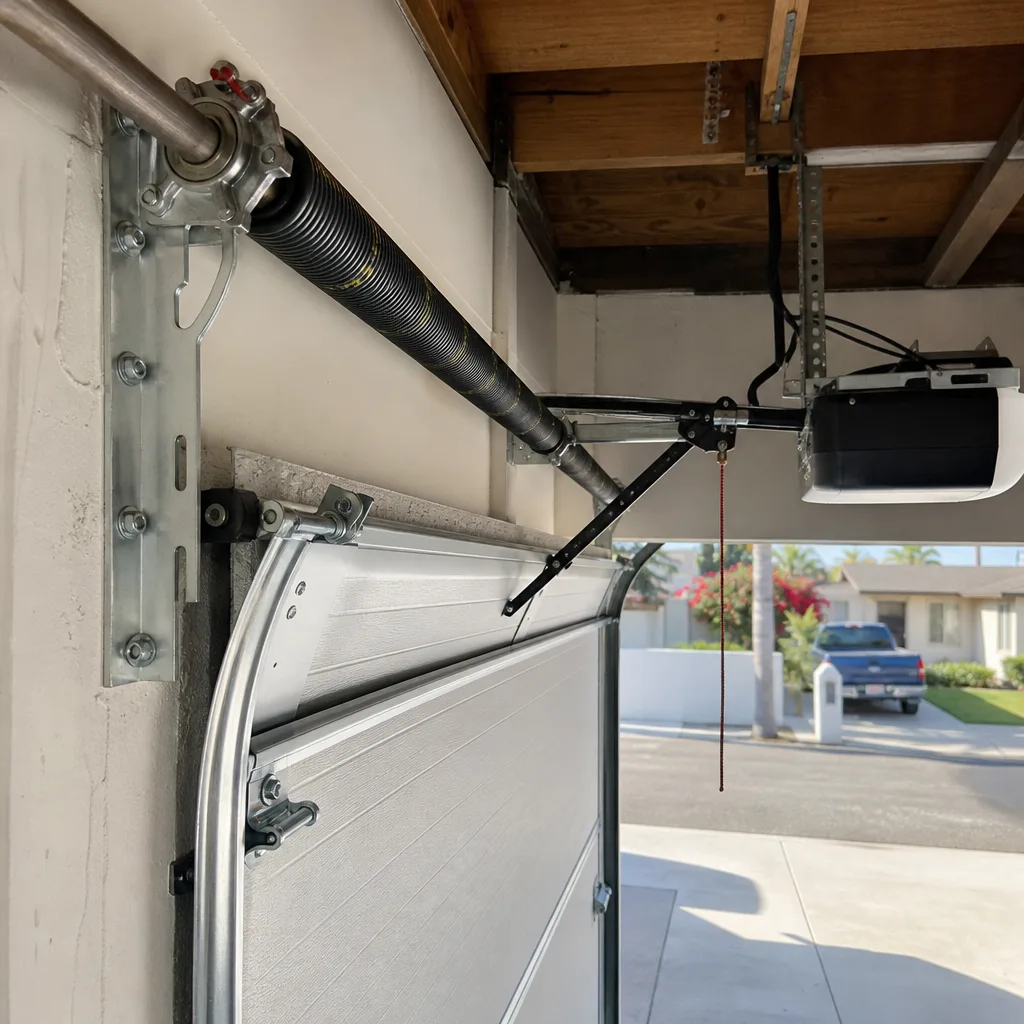 After
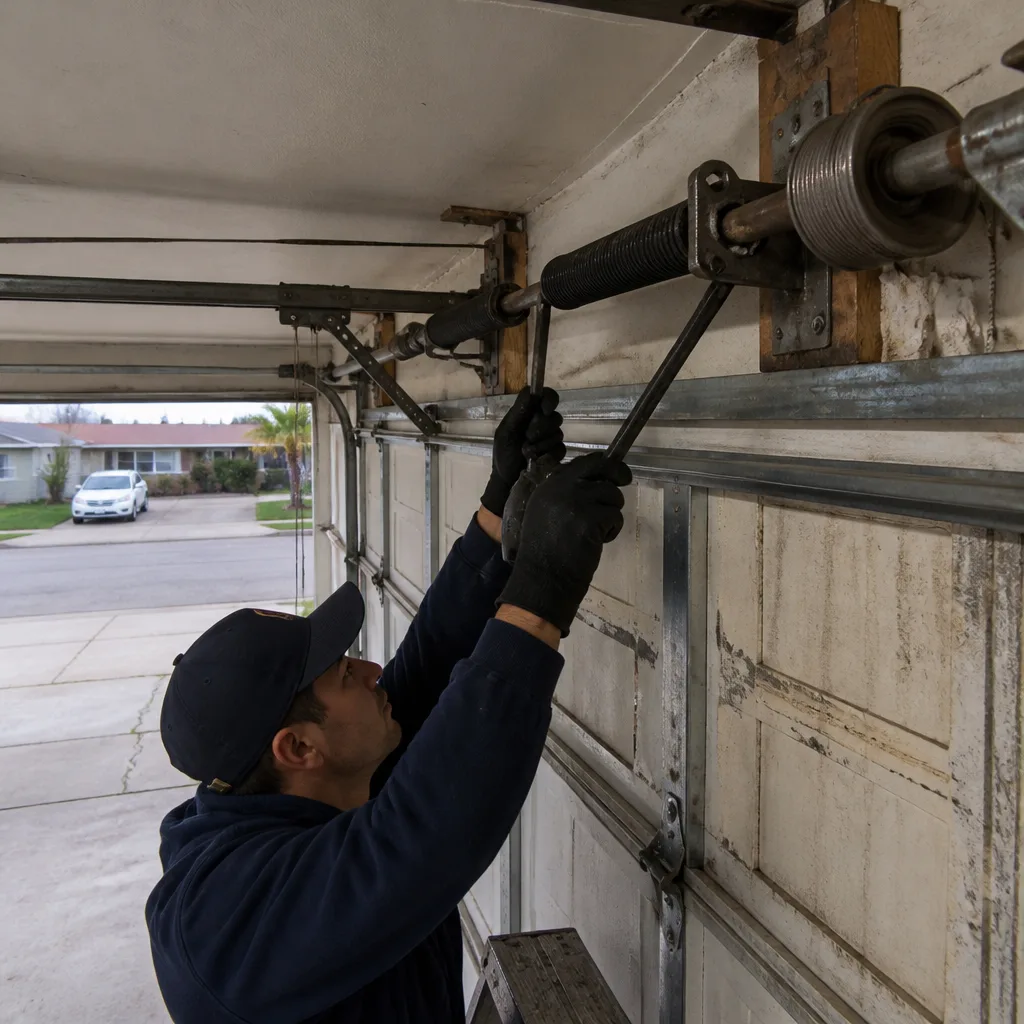 Before
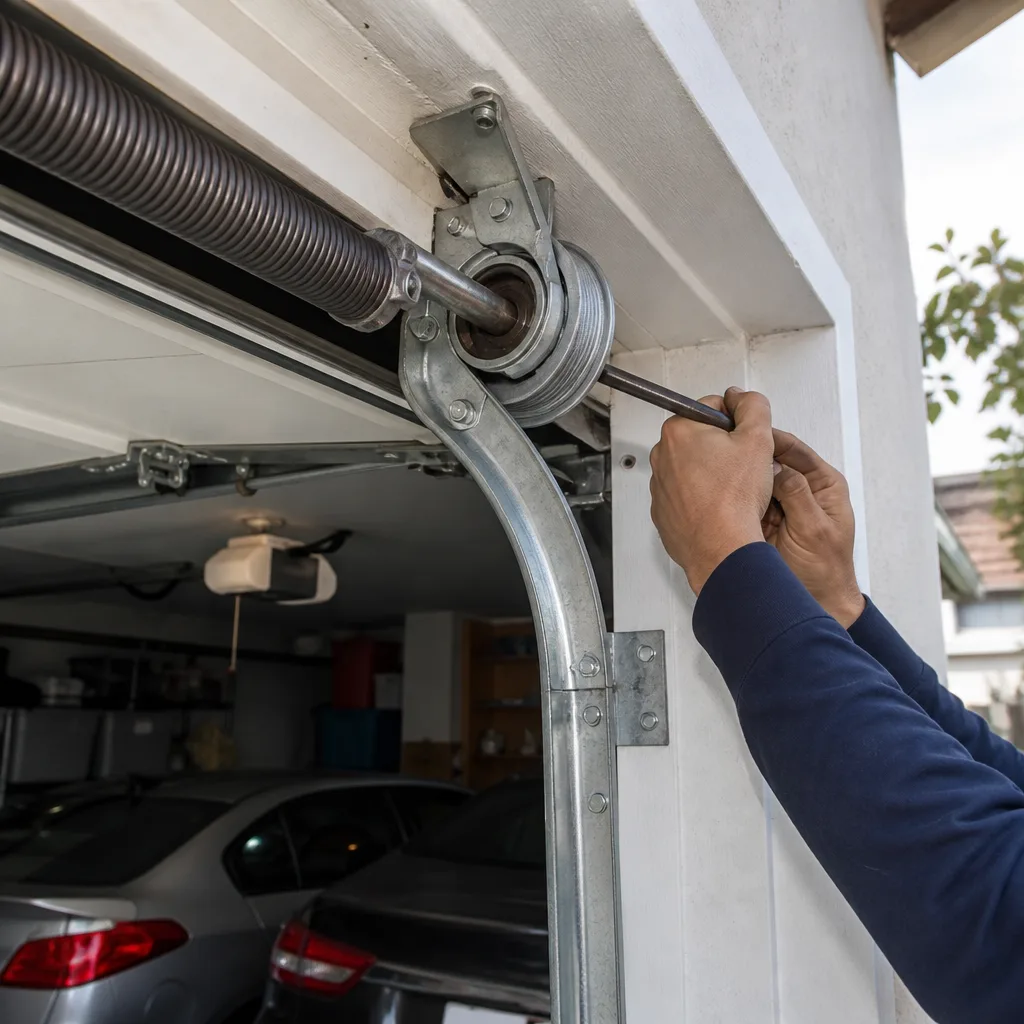 After
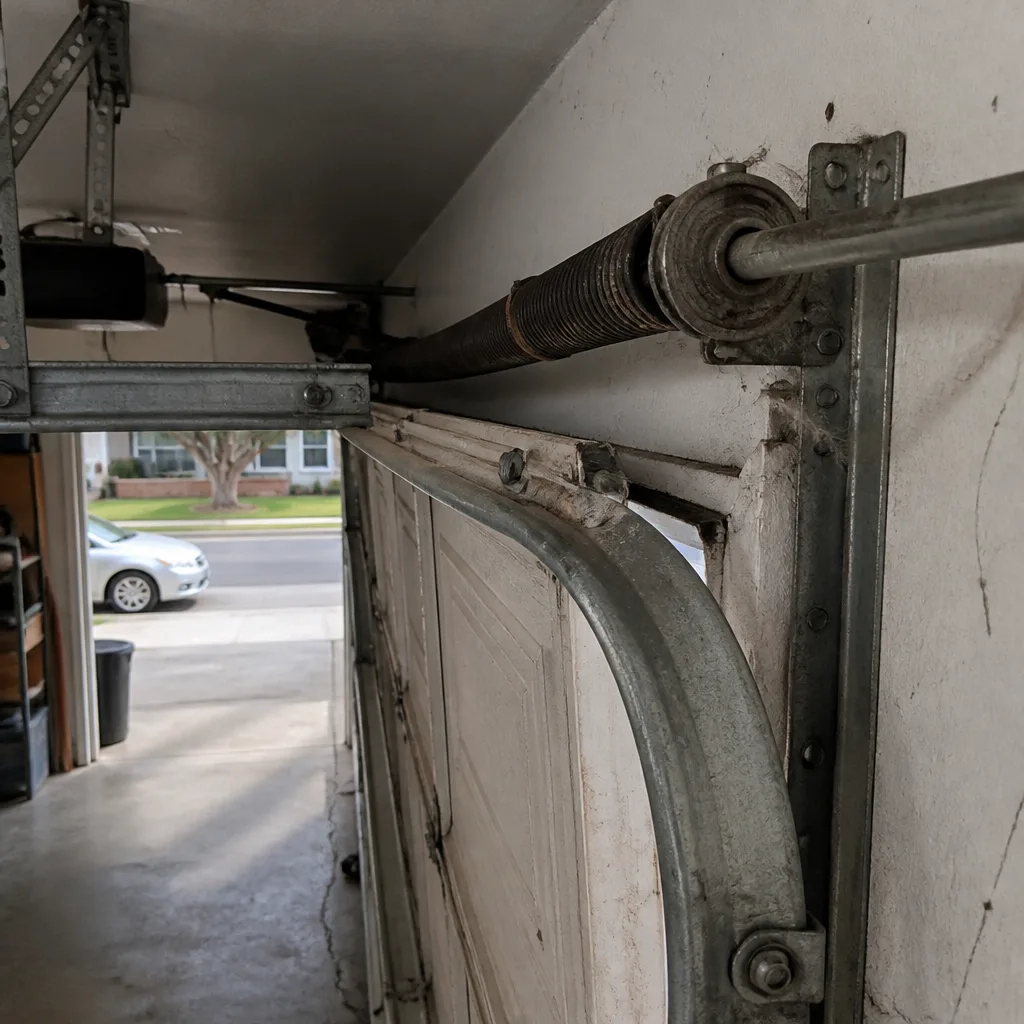 Before
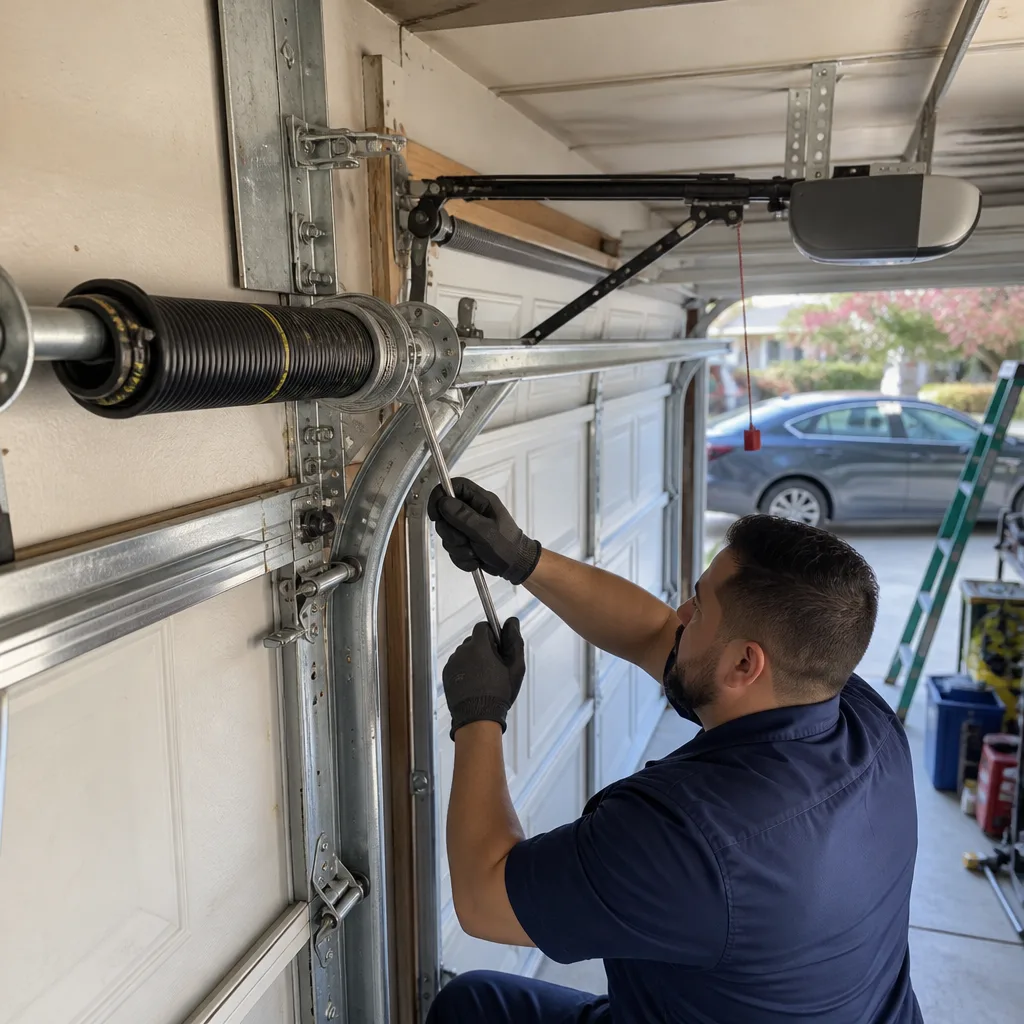 After