
Last updated October 30, 2026
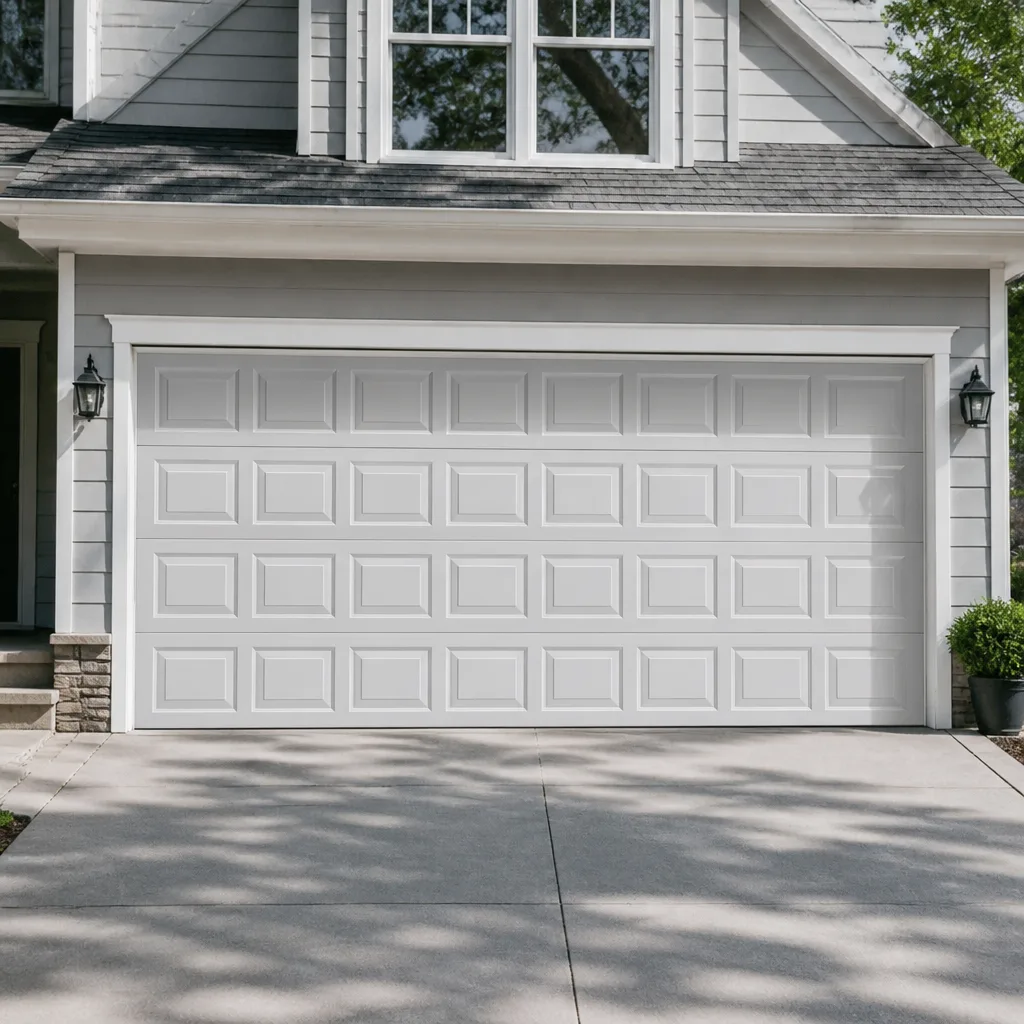 Raised-panel steel
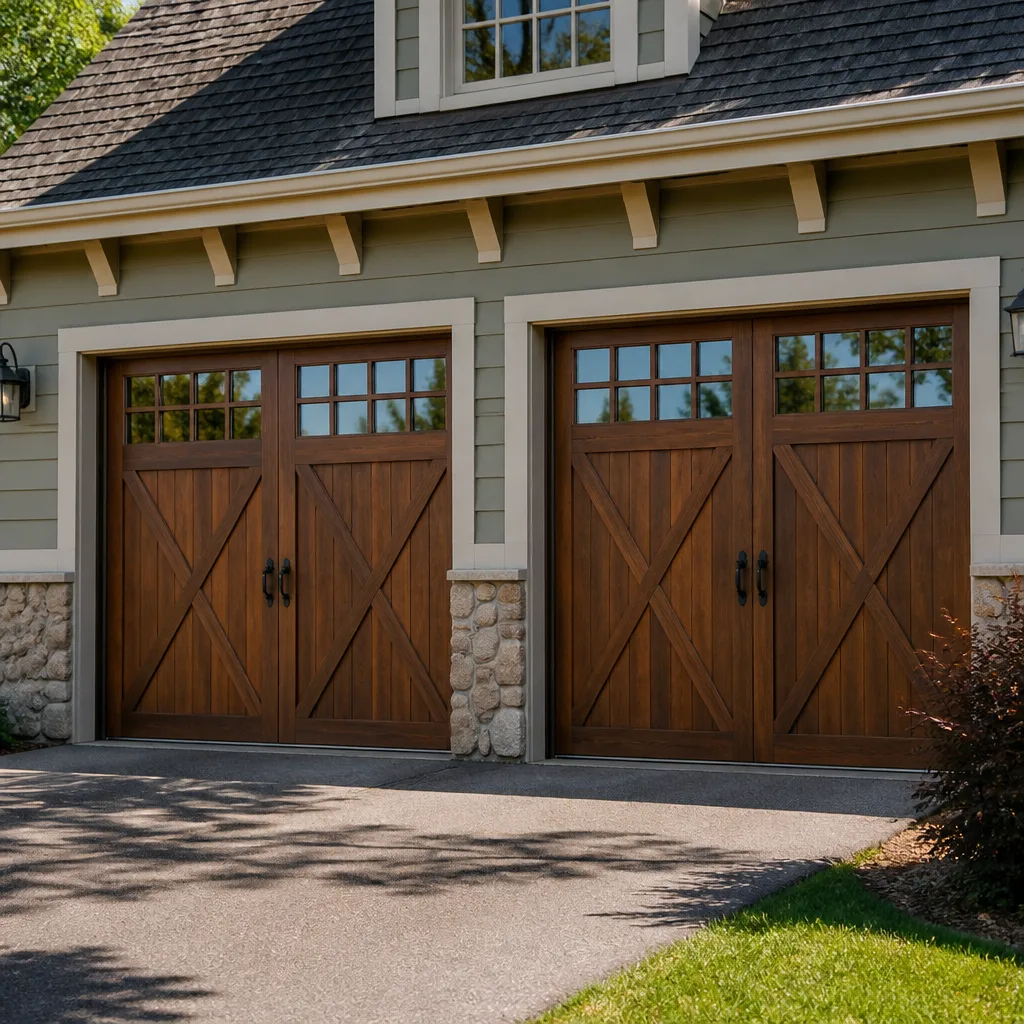 Carriage house
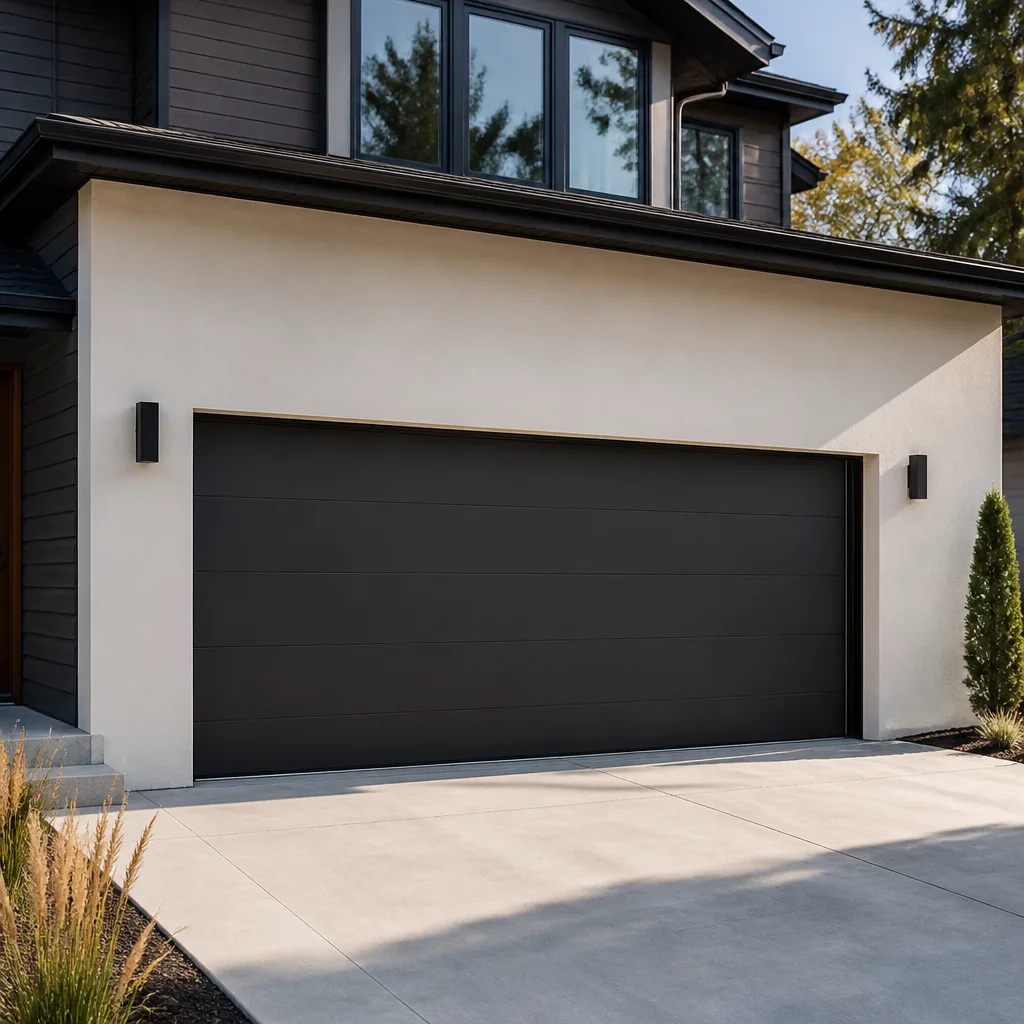 Modern flush
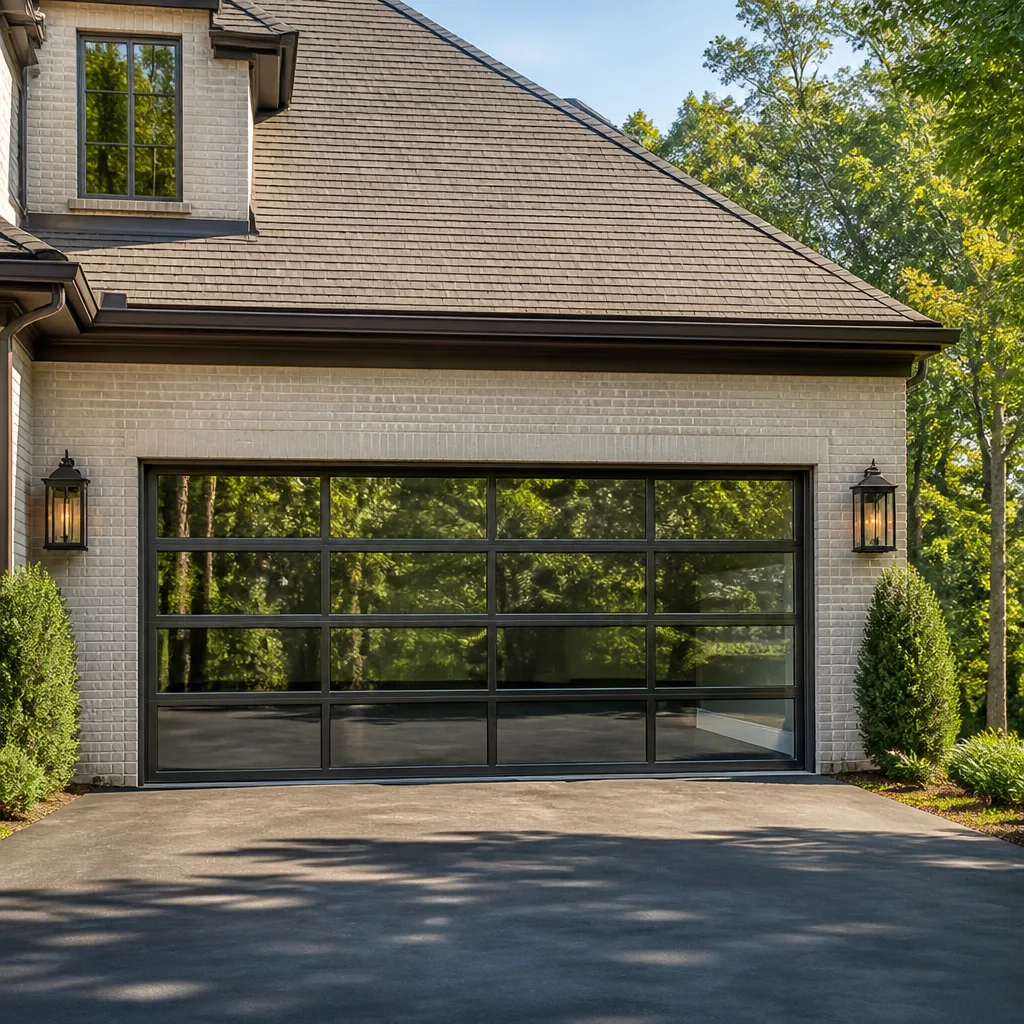 Full-view glass
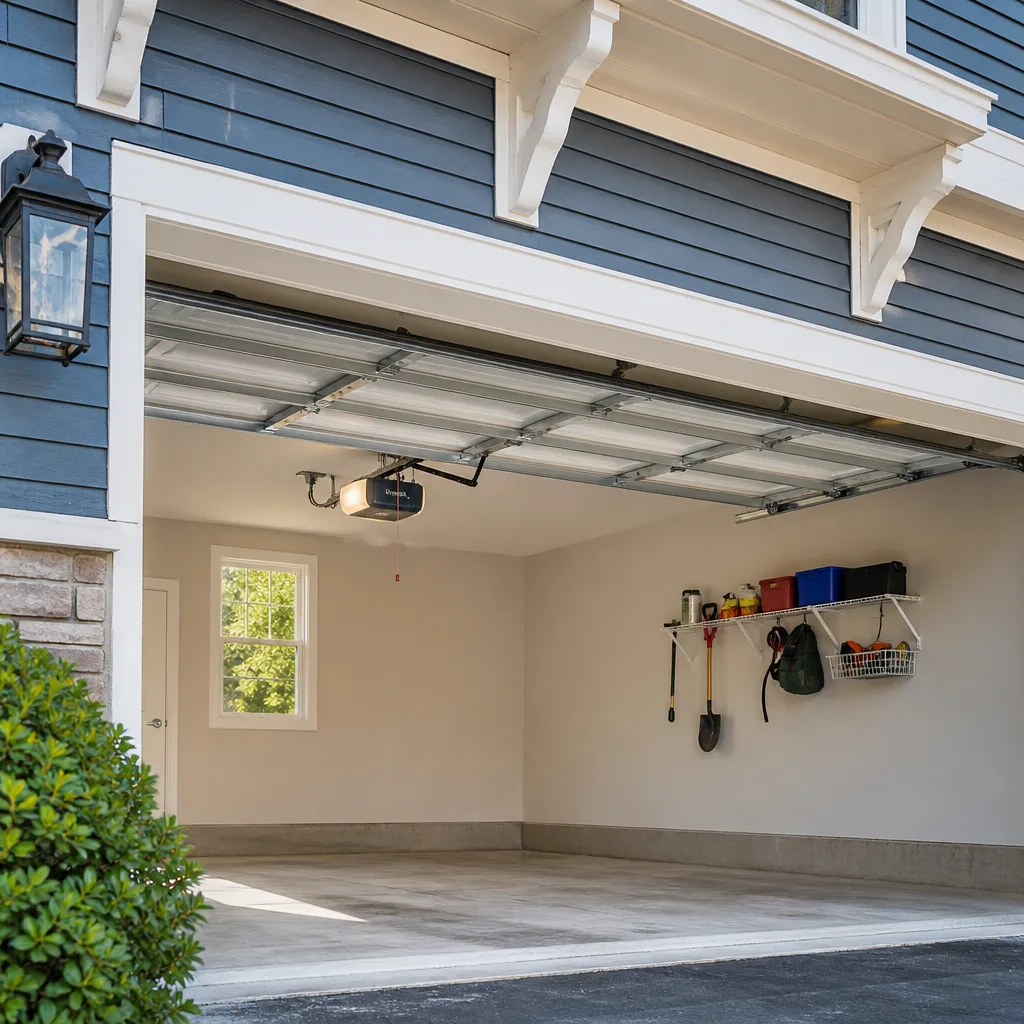 LiftMaster openers
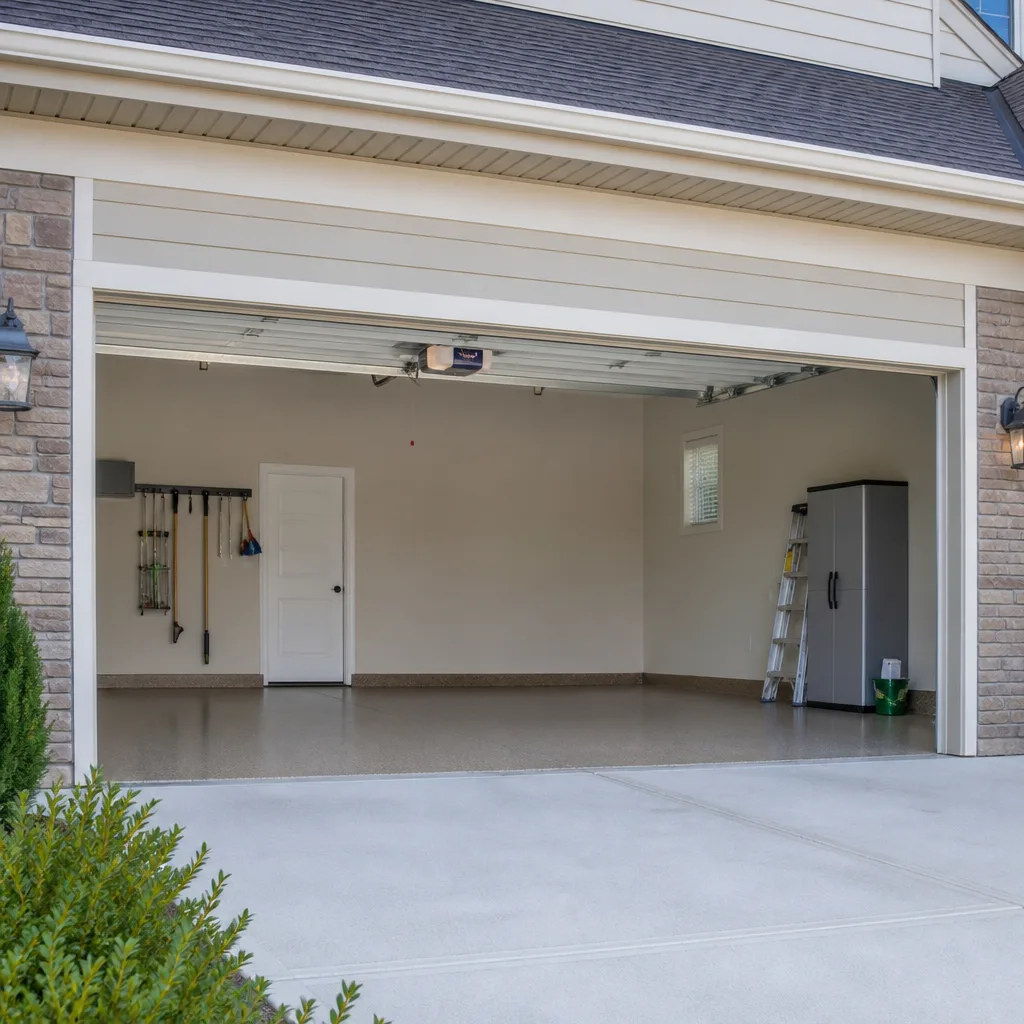 Chamberlain openers
Full 25-point door and opener safety check with every visit - springs, cables, rollers, tracks, and your LiftMaster or Chamberlain opener included
You get a price before we start. It does not change when the truck arrives.
Get your free estimateGarage Door Repair Maintenance Checklist for Long Beach Homeowners
A garage door that passed a standard maintenance check in January can have measurably corroded hardware by March if it sits within a mile of the ocean. The checklist most homeowners use was not written with Long Beach in mind. It was written for inland suburbs where temperature swings matter more than salt content in the air. This guide is different. It is built for the coastal reality of Long Beach, where marine layer moisture and salt particles work on metal components year-round, and where the specific failure points of your door are predictable once you know what to look for. You will leave with a working maintenance routine you can actually follow, plus a clear sense of when to do it yourself and when to call a professional for Garage Door Repair.
Styles & brands we work with
Quick Answer
A Long Beach garage door maintenance checklist should prioritize monthly corrosion inspection on springs, brackets, and roller stems, quarterly lubrication with a silicone or lithium-based product (never WD-40), monthly auto-reverse and photo-eye sensor tests, and a visual weatherstripping check after Santa Ana wind events. Most homeowners can handle the inspection and testing in under 15 minutes; spring replacement and cable work should always go to a trained technician.
Table of Contents
- Why Long Beach Needs Its Own Maintenance Checklist
- The Monthly Corrosion Spot-Check Protocol
- Testing Auto-Reverse and Photo-Eye Sensors: The Two Most-Skipped Steps
- Lubrication in a Coastal Climate: What to Use and What to Skip
- Panel Seals, Weatherstripping, and the Santa Ana Problem
- The Maintenance Log: How to Track Repairs and Talk to a Technician
- Common Mistakes to Avoid
- When to Call a Professional
- Frequently Asked Questions
- The Bottom Line
Why Long Beach Needs Its Own Maintenance Checklist
Standard garage door maintenance advice assumes a generic American climate: cold winters, hot summers, maybe some humidity. Long Beach breaks that model. The city sits on the Pacific with an average relative humidity above 70% for most of the year, and neighborhoods like Belmont Shore, Naples, and the Peninsula sit close enough to the surf that salt aerosol is a daily presence, not an occasional storm event. What that means in practice is this: the galvanized coating on your torsion springs, the steel in your bottom brackets, and the stems on your rollers are all in a constant, low-grade battle with oxidation.
In our experience working on doors across Long Beach, we see the pattern clearly. A door in Bixby Knolls that was adjusted six months ago shows surface rust on the springs. A door in Alamitos Beach has bottom brackets that look fine from a distance but have rust-fused bolts up close. The failure is rarely sudden. It builds slowly, then a spring snaps on a Tuesday morning and the car is stuck inside. Learn what to watch for in our Garage Door Warning Signs: A Long Beach Homeowner’s Reference Guide.
The point of a coastal maintenance checklist is not to prevent all corrosion. Salt air wins over time regardless. The point is to catch the damage while it is still surface-level and addressable, before it becomes a $300 spring replacement or a bent track from a door that came off its rollers. The routine below is built for exactly that kind of early detection. If you want the fuller picture of repair scope and pricing in the area, our Garage Door Repair in Long Beach page covers what typical repair calls look like.
One more thing worth naming directly: your garage door is the largest moving object in your home. It weighs between 130 and 400 pounds depending on material and size. When a component fails, it does not fail gracefully. Maintenance is not cosmetic. It is the difference between a door that lasts twenty years and one that eats a new spring every three.
The Monthly Corrosion Spot-Check Protocol
The single highest-value habit a Long Beach homeowner can build is a ten-minute monthly walk around the garage door with a flashlight. You are not fixing anything during this check. You are looking. Here is the protocol, in order.
- Close the door. You want tension released and components visible. Always inspect with the door down unless you are specifically testing operation.
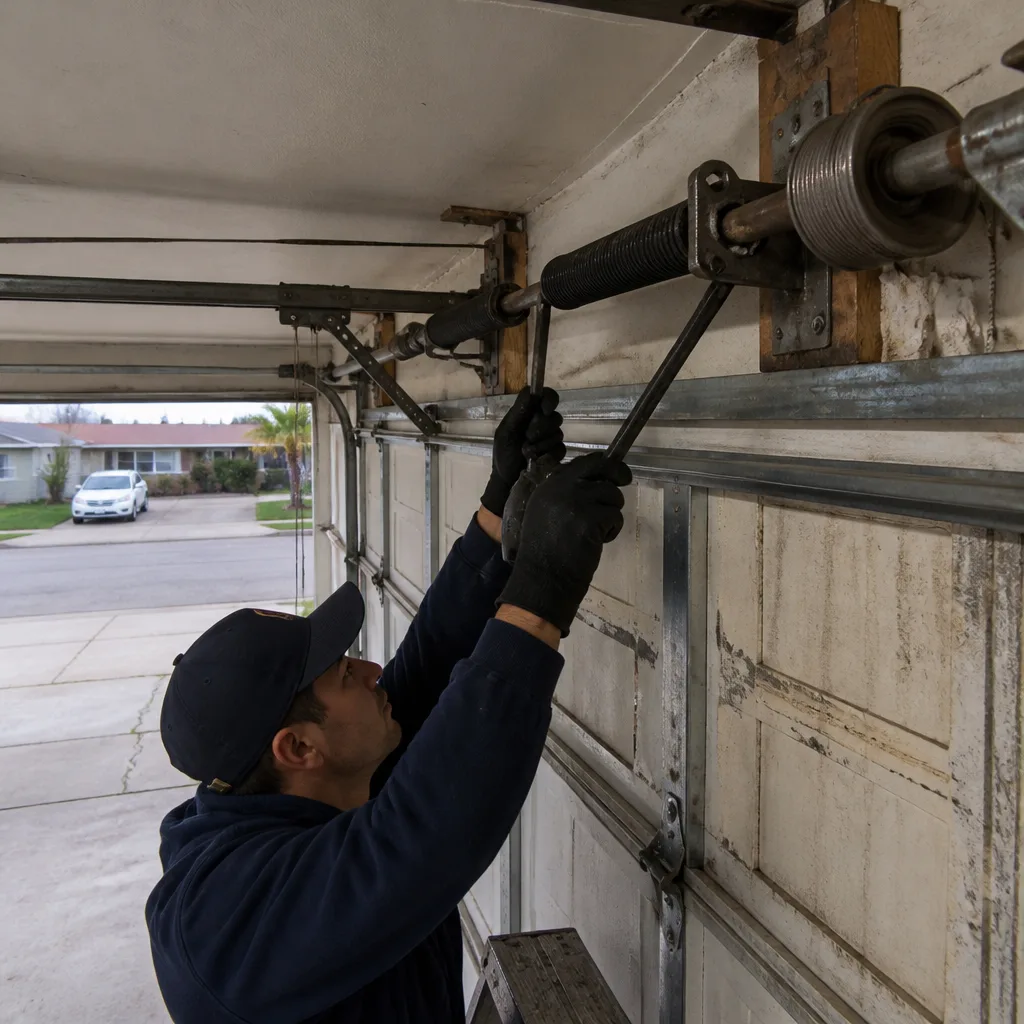
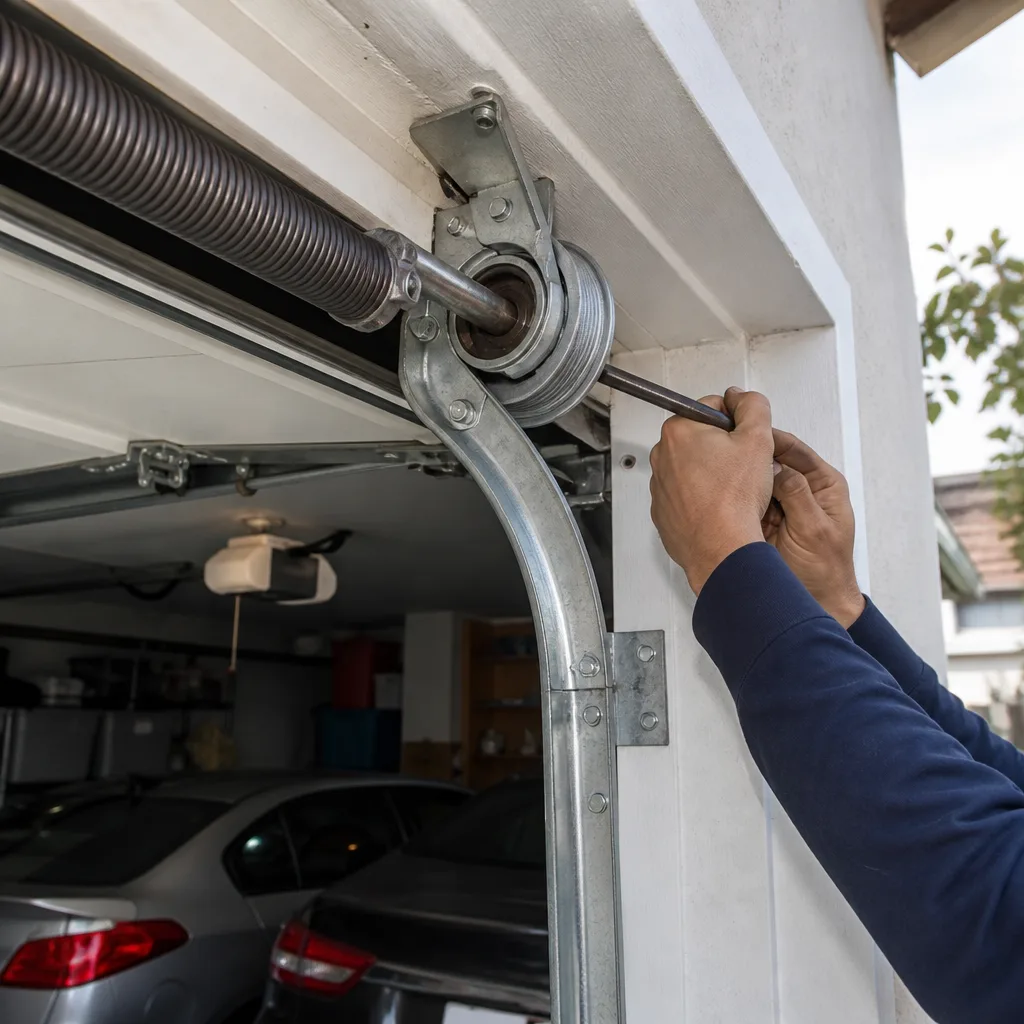
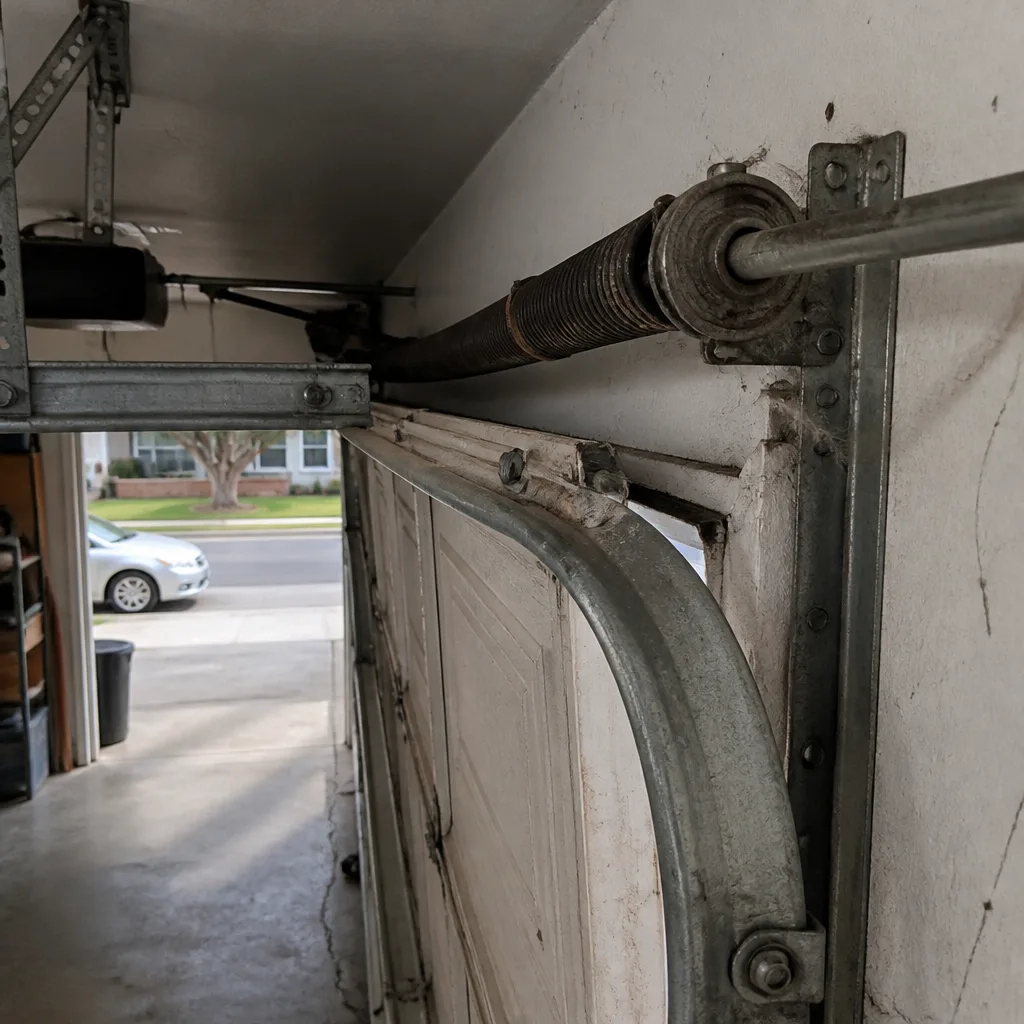
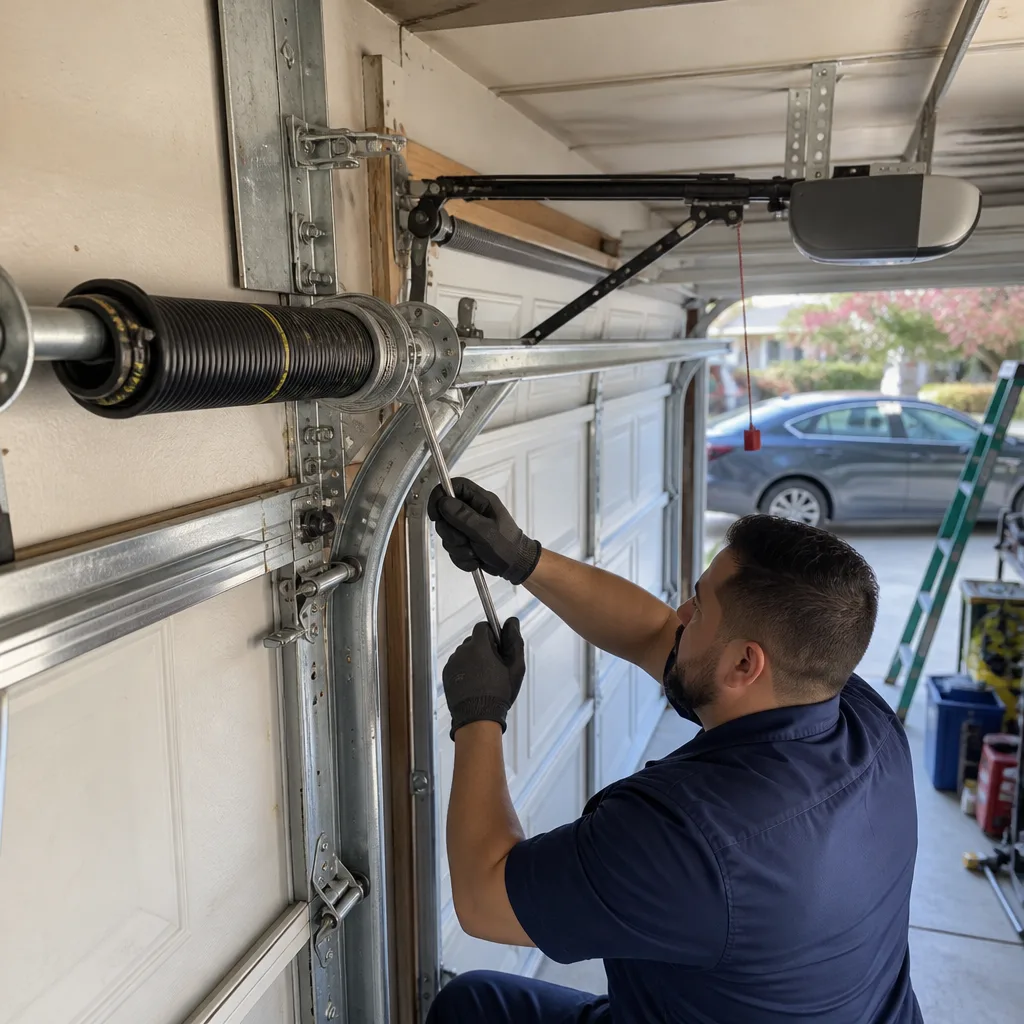
- Shine the flashlight on both torsion springs, the coiled springs mounted horizontally above the door opening near the wall. Look for rust bloom (orange-brown powdery deposits), pitting, or any visible gap in the coil. Rust on a spring is not automatically a death sentence, but rust plus any visible deformation means replacement is due soon.
- Inspect the bottom brackets on both sides of the door, where the lift cables attach at the lower corners. This is one of the most corrosion-prone spots on any coastal garage door because water drains down the track and sits there. Look for rust staining, flaking metal, or bolts that look swollen or crusted.
- Check the roller stems. Rollers ride inside the vertical and horizontal tracks. The stems are the small metal shafts connecting the wheel to the door. In high-salt-air zip codes like 90803 and 90802, those stems rust faster than nearly anything else on the assembly. Look for orange discoloration and listen for grinding during operation.
- Scan the track bolts and hinges from top to bottom. You are looking for any fastener that has visible rust rings around it. A rusted bolt is a warning sign that moisture is sitting in that spot.
- Make a note. If you spot early rust, write it down in the maintenance log described later in this guide. Early rust can often be cleaned and protected. Ignored rust becomes a structural problem.
If you find significant rust on the springs, brackets, or cables, do not attempt to scrape or treat it yourself, especially on springs under tension. Call a garage door technician. The springs are dangerous, and at Blackstone Garage Door Repair home we work on every major residential brand, including Clopay and Amarr doors common in Long Beach homes from the 1950s through today’s new builds.
Testing Auto-Reverse and Photo-Eye Sensors: The Two Most-Skipped Steps
Since 1993, federal law has required all residential garage door openers in the United States to include two safety systems: photo-eye sensors and an auto-reverse mechanism. Both exist to prevent the door from closing on a person, a pet, or an object. Long Beach homes range from original mid-century builds to recent townhouse developments, which means opener vintages vary widely. Some homeowners have a Chamberlain from 1997. Others have a Garage Door Opener Repair in Long Beach situation waiting because their Genie unit from 2011 is acting up. Whatever your opener brand, these two tests should be on your monthly list.
Test 1: The photo-eye sensor block test. The photo eyes are the two small units, usually with green or amber lights, mounted about six inches off the floor on either side of the door track. They project an invisible beam across the opening. The test is simple.
- With the door open, press the wall button to close it.
- While the door is moving downward, wave your foot or a broom handle through the beam path about a foot off the ground.
- The door should stop immediately and reverse to the open position. If it keeps closing, the sensors are misaligned, dirty, or failing, and opener repair is needed.
Test 2: The auto-reverse pressure test. This tests the opener’s force sensitivity, which is the backup if the photo eyes fail.
- Place a 2×4 flat on the ground in the center of the door opening.
- Close the door using the opener.
- When the door hits the wood, it should reverse within two seconds of contact.
- If it does not reverse, the force setting may be too high or the mechanism is worn out. This is a safety failure, not a convenience issue.
Both tests take under five minutes combined. They are the two steps most often skipped in DIY maintenance walkthroughs, partly because people do not know they exist and partly because everything “works fine.” A door that closes normally is not proof that the safety systems will respond when needed.
Lubrication in a Coastal Climate: What to Use and What to Skip
The standard generic advice is “lubricate your garage door twice a year.” Fine advice in Phoenix. In Long Beach, where marine air keeps metal surfaces damp and salt accelerates corrosion, quarterly lubrication is the right cadence for most homes, and monthly for doors within a few blocks of the beach.
Now the product selection part, because this is where most people go wrong. Standard WD-40 is not a garage door lubricant. It is a water displacer and a light solvent, and its lubricating film evaporates or degrades within days. Using it on a garage door in a coastal environment actively contributes to the problem: the solvent strips whatever protective coating was there, then leaves the metal bare to the salt air.
What to use instead:
- For rollers, hinges, and bearings: a white lithium grease or a silicone-based spray lubricant. These leave a durable film that resists moisture and does not attract dust.
- For the torsion springs: a dedicated garage door spring lubricant or a light machine oil. Spray along the top of the spring coils so the oil wicks into the gaps. This is one of the few areas where you should oil with the door closed and tension released.
- For the track: nothing. Do not lubricate the track. The rollers run on bearings inside the track; greasing the track attracts dirt and sand, especially during Santa Ana wind season in Long Beach, and creates a grinding paste that wears the roller wheels faster.
- For the opener chain or screw drive: a light grease for chain drives, or specific screw-drive lubricant for Genie screw-drive models that many Long Beach homes still run. Check your opener manual for the drive type before applying anything.
A note on over-lubricating: more is not better. A light, even film is the target. Excess lubricant drips onto the door, collects dust, and ends up on your car’s roof. If you see drips or runs, wipe them off.
Panel Seals, Weatherstripping, and the Santa Ana Problem
Long Beach does not get rain like the Pacific Northwest, but it gets something most maintenance guides never mention: Santa Ana winds. Between September and February, dry desert air barrels down through the passes and across the coastal plain at speeds that routinely hit 30 to 40 mph, with gusts higher. That wind picks up dust, sand, and fine debris from the LA basin and pushes it against every gap in your home, including the perimeter of your garage door.
The weatherstripping on your garage door is the rubber or vinyl seal that runs along the bottom of the door and up the sides. Its job is to keep water, dust, and pests out. In coastal Long Beach, it has three enemies: salt air that dries and cracks the rubber, UV exposure that does the same over years, and Santa Ana wind events that wedge fine grit into any gap the seal can no longer close.
Here is the inspection routine:
- Run your hand along the bottom seal with the door closed. Feel for cracks, flattening, or gaps where daylight shows through. Any gap larger than a quarter inch is a problem.
- Inspect the side seals on both jambs. Look for sections where the vinyl has curled away from the frame or torn along the bottom third, where water runs down during the winter months.
- Check the jamb corners where the side seals meet the bottom seal. This is the most common entry point for dust and insects in Long Beach homes, and it is easy to miss unless you are looking at the corners specifically.
- After any Santa Ana event, do a quick visual check for dust buildup along the interior threshold of the door. If you find new dust on the floor after a wind event, your seals are not doing their job.
Replacing a worn bottom seal is a moderate DIY job for many homeowners. Replacing side seals and jambs on a Wayne Dalton or Clopay door often requires removing the track sections, which crosses into professional territory. If you are unsure whether your door has a standard T-style bottom seal or a bulb seal, checking the model number or calling a technician saves you from buying the wrong part twice. Our Garage Door Installation in Long Beach page covers upgrades if your panels themselves have reached the end of their useful life and sealing is no longer enough.
The Maintenance Log: How to Track Repairs and Talk to a Technician
Most homeowners do not keep records for their garage door. They remember “it was making a noise last year” and “somebody came out at some point.” When a technician arrives, the diagnostic conversation is built on guesswork. A simple maintenance log changes that entirely, and it takes thirty seconds per entry.
Here is a format that works:
- Date: When the observation or repair happened.
- Observation: What you noticed: noise, rust spot, slow operation, sensor failing the block test.
- Action taken: Lubricated, called a technician, replaced seal, no action.
- Cost (if any): What you paid, so you can track whether you are $200 or $2,000 into this door over time.
- Technician notes: If a pro visited, one line on what they said or did.
The value of this log shows up in two places. First, it helps you spot patterns: if you are lubricating the springs every three months but still seeing rust in the same spot, the issue is not lubrication, it is likely a failing coating or a moisture source that needs addressing. Second, when you do call a technician, handing them a log with six months of observations is dramatically more useful than saying “it’s been weird.” It lets a repair person start from data instead of from scratch, and in our experience it often shortens the diagnostic time on a repair visit significantly. For additional help identifying issues early, see our Garage Door Repair Troubleshooting: Common Problems and How to Fix Them.
Keep the log in the garage itself, taped to the wall or on a clipboard by the door. Digital notes on your phone work too, but a physical log in the garage is more likely to actually get used in the moment.
Common Mistakes to Avoid
- Using WD-40 as a garage door lubricant. It strips protective coatings and evaporates within days, leaving bare metal exposed to Long Beach salt air. Use lithium grease or silicone spray instead.
- Testing the auto-reverse by grabbing the door. This is dangerous and does not give you a reliable read on the force setting. Use the 2×4 method described above; it applies consistent, predictable pressure.
- Ignoring rust on the bottom brackets because “the door still works.” Bottom brackets hold the cable tension. A bracket that rusts through while the door is open releases the cable under force, and that is a serious injury risk. Inspect them monthly.
- Never checking the balance of the door. Pull the release handle and lift the door manually to about waist height. It should stay put, neither rising nor falling. A door that drifts has a spring tension problem that will eventually damage the opener motor.
- Replacing the battery in the keypad but not the backup battery in the opener unit. Many openers have a DC motor with an internal backup battery, especially newer Chamberlain and LiftMaster models. That battery dies silently, and you only discover it during a power outage.
- Skipping maintenance entirely until the door fails. Salt air is patient and methodical. By the time the door stops working, the repair is almost always more expensive than the maintenance would have been. A spring that gets inspected monthly costs $20 a year in lubricant; a spring that fails costs $250 to $400 to replace.
When to Call a Professional
Call a professional when the problem involves any component under tension: torsion springs, extension springs, or lift cables. These parts store enough energy to cause serious injury if they fail while you are working on them. Call also when the door has come off its tracks, when a roller has snapped and the door is hanging unevenly, when the opener motor runs but the door does not move, or when you have done the monthly corrosion check and found significant rust on the springs or brackets. A technician can assess whether the corrosion is cosmetic or structural, and can make the repair with the right parts for your specific brand. Blackstone Garage Door Repair offers free estimates in Long Beach and covers Amarr, Wayne Dalton, Clopay, and Genie systems among others. Call (866) 477-5637 to describe what you are seeing and get a straight answer about whether it is urgent.
Frequently Asked Questions
A basic garage door tune-up in Long Beach typically runs between $75 and $150, depending on the number of components serviced and whether parts like rollers or seals need replacement. At Blackstone Garage Door Repair, we quote the full price before any work starts, so you will know exactly what the visit costs before we begin. Call (866) 477-5637 for a free estimate.
If you live within a few blocks of the beach in neighborhoods like Belmont Shore or Naples, lubricate your rollers, hinges, and springs every month. Homes further inland, in areas like Los Altos or Bixby Knolls, can typically go quarterly. The salt content in the air is the determining factor, not the season.
Yes, the visual inspection is safe for any homeowner to perform with the door closed. Looking at the springs, brackets, and roller stems requires no tools and no contact with moving parts. What you should not do yourself is attempt to repair, clean, or adjust any component you find during that inspection that is under tension or connected to the lift system.
Coastal humidity causes rust to form on hinges, roller bearings, and track fasteners more quickly than in dry inland climates. That rust creates friction, and friction creates noise. The fix is usually lubrication of the rollers and hinges with a silicone or lithium product, but if the noise persists after lubrication, the rollers themselves may be pitted and in need of replacement.
Check the indicator lights on each sensor unit. On most openers, a solid green light on one sensor and a solid amber or red on the other indicates proper alignment. If either light is blinking, off, or dim, the sensors are misaligned or obstructed. Alignment can often be fixed by gently adjusting the sensor bracket until the lights stabilize. If the lights will not stabilize, the wiring or the sensor unit itself may have failed, and opener repair is the next step.
For homes in the coastal zone, a maintenance plan that includes a twice-yearly professional inspection plus quarterly lubrication is typically worth the cost. The plan catches corrosion and tension problems before they become full failures, and in a salt-air environment the annual cost of a plan is usually less than one emergency spring replacement. If you want to understand what is included in a Blackstone tune-up specifically, call (866) 477-5637 and we will walk you through it with no obligation.
The Bottom Line
Long Beach garage doors fail differently than doors in Burbank or Riverside, and the maintenance routine needs to match the environment. Monthly corrosion checks on springs, brackets, and roller stems. Quarterly lubrication with the right product, not WD-40. Monthly safety sensor tests you can do in five minutes with a broom handle and a piece of wood. A weatherstripping check every time the Santa Anas blow through. And a written log so that when something does break, the technician starts from fact rather than guesswork. None of this is complicated, but it is specific, and the specificity is what keeps a coastal garage door running quietly and safely for years instead of failing on the morning you least expect it. If any part of this checklist turns up a problem, or if you would simply rather hand the whole routine to someone who does it professionally, call (866) 477-5637 for a free estimate. We work on your brand, and we will tell you straight what needs doing and what can wait.
Written by the team at Blackstone Garage Door Repair, serving Long Beach since 2012. Explore more guides & resources on our blog.
See the difference
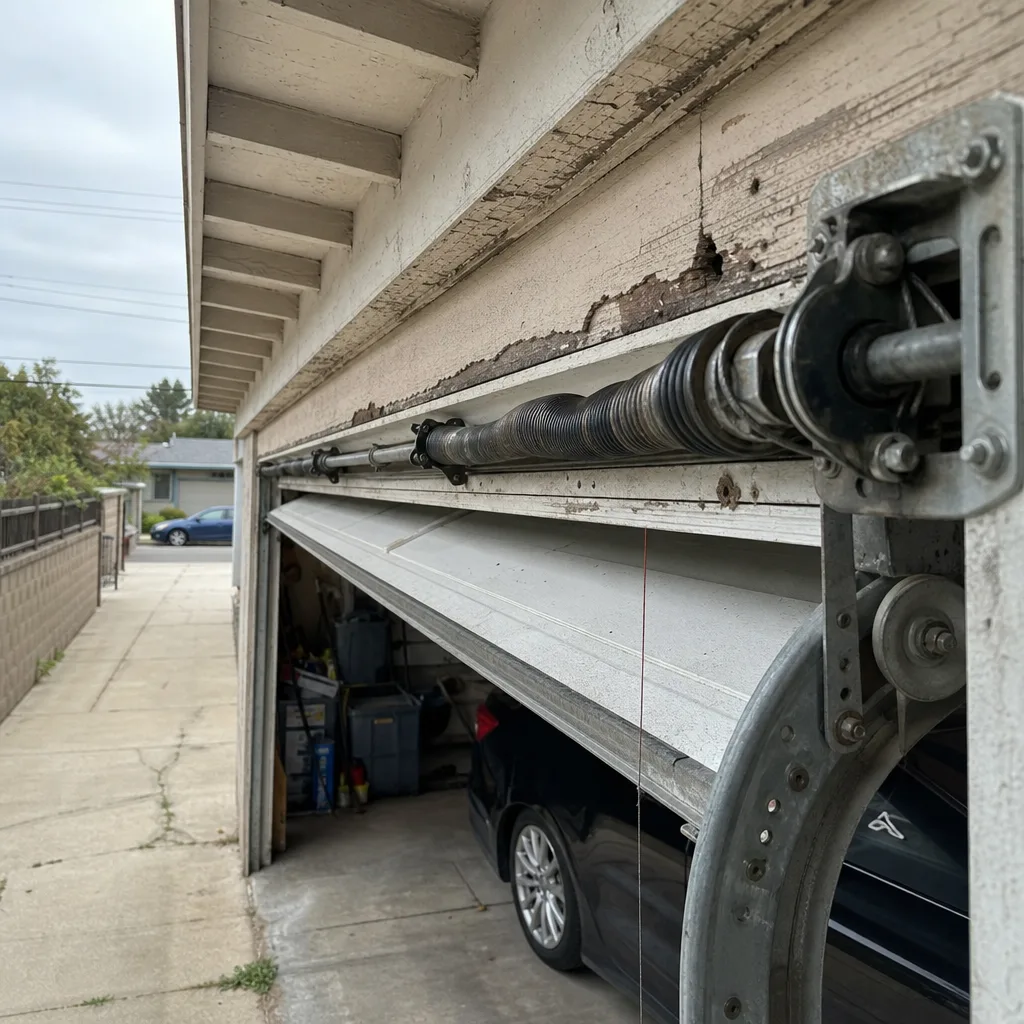 Before
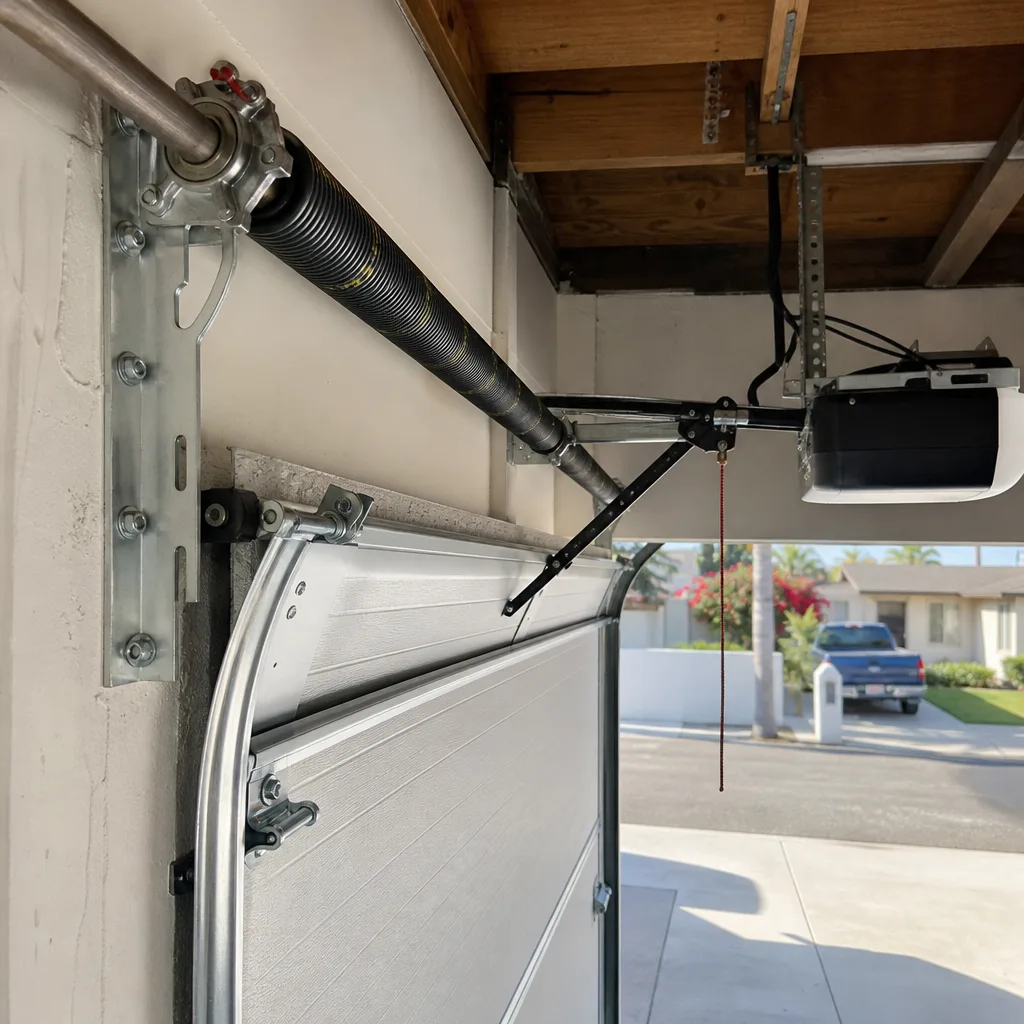 After
 Before
 After
 Before
 After